
Whether eaten as a topping for Thai desserts or on their own as a crunchy snack, these Crispy Mung Beans are satisfyingly delicious.
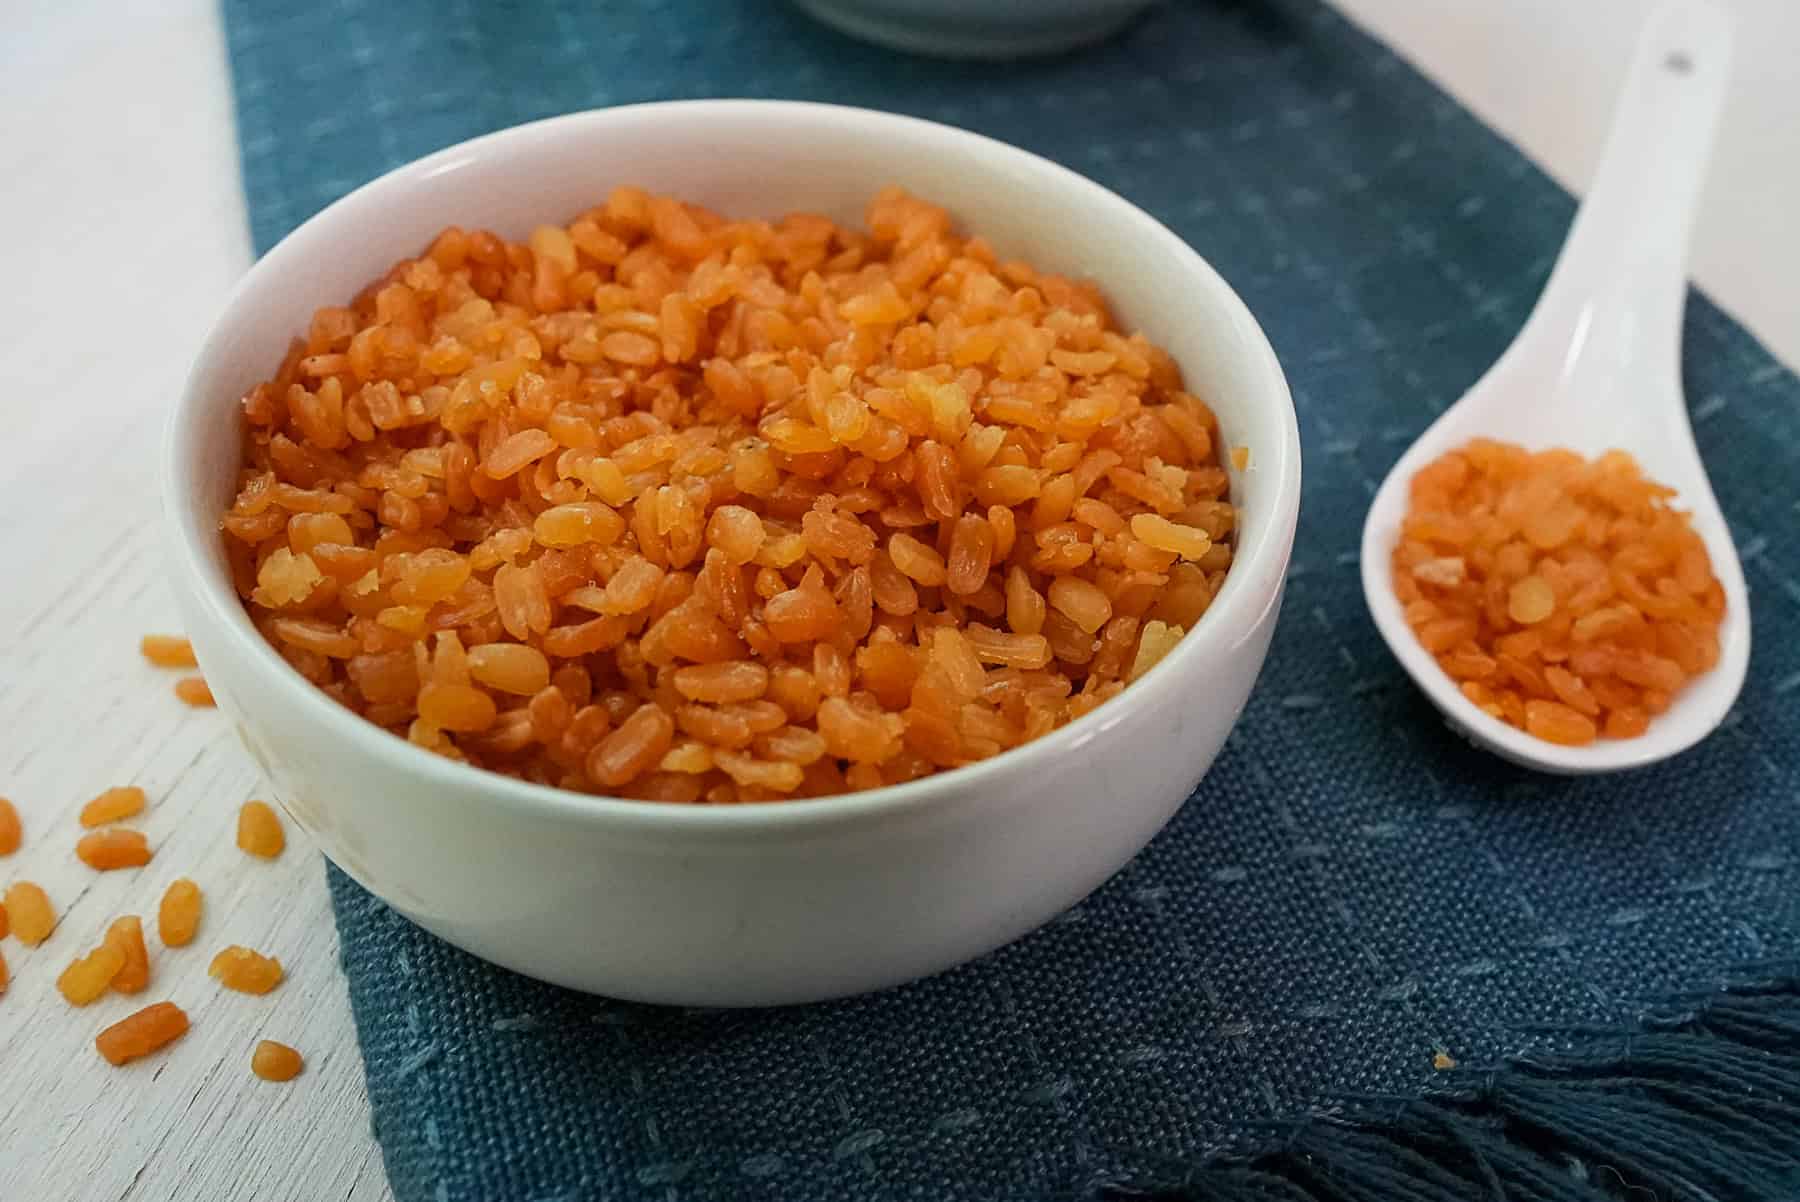
I was first introduced to Crispy Mung Beans as a part of Mango Sticky Rice. This famous Thai dessert is often topped with a sprinkling of these fried beans, where they add a delicious salty crunch to the otherwise sweet dessert. These crispy little morsels are also commonly offered as a topping choice for other Thai desserts, including Coconut Ice Cream.
In addition to topping Thai desserts, Crispy Mung Beans make a tasty snack on their own. The mung beans have an inherently mild flavor, so when they are deep fried and salted, they become an addictive way to satisfy those savory snack cravings.
Jump to:
Ingredients
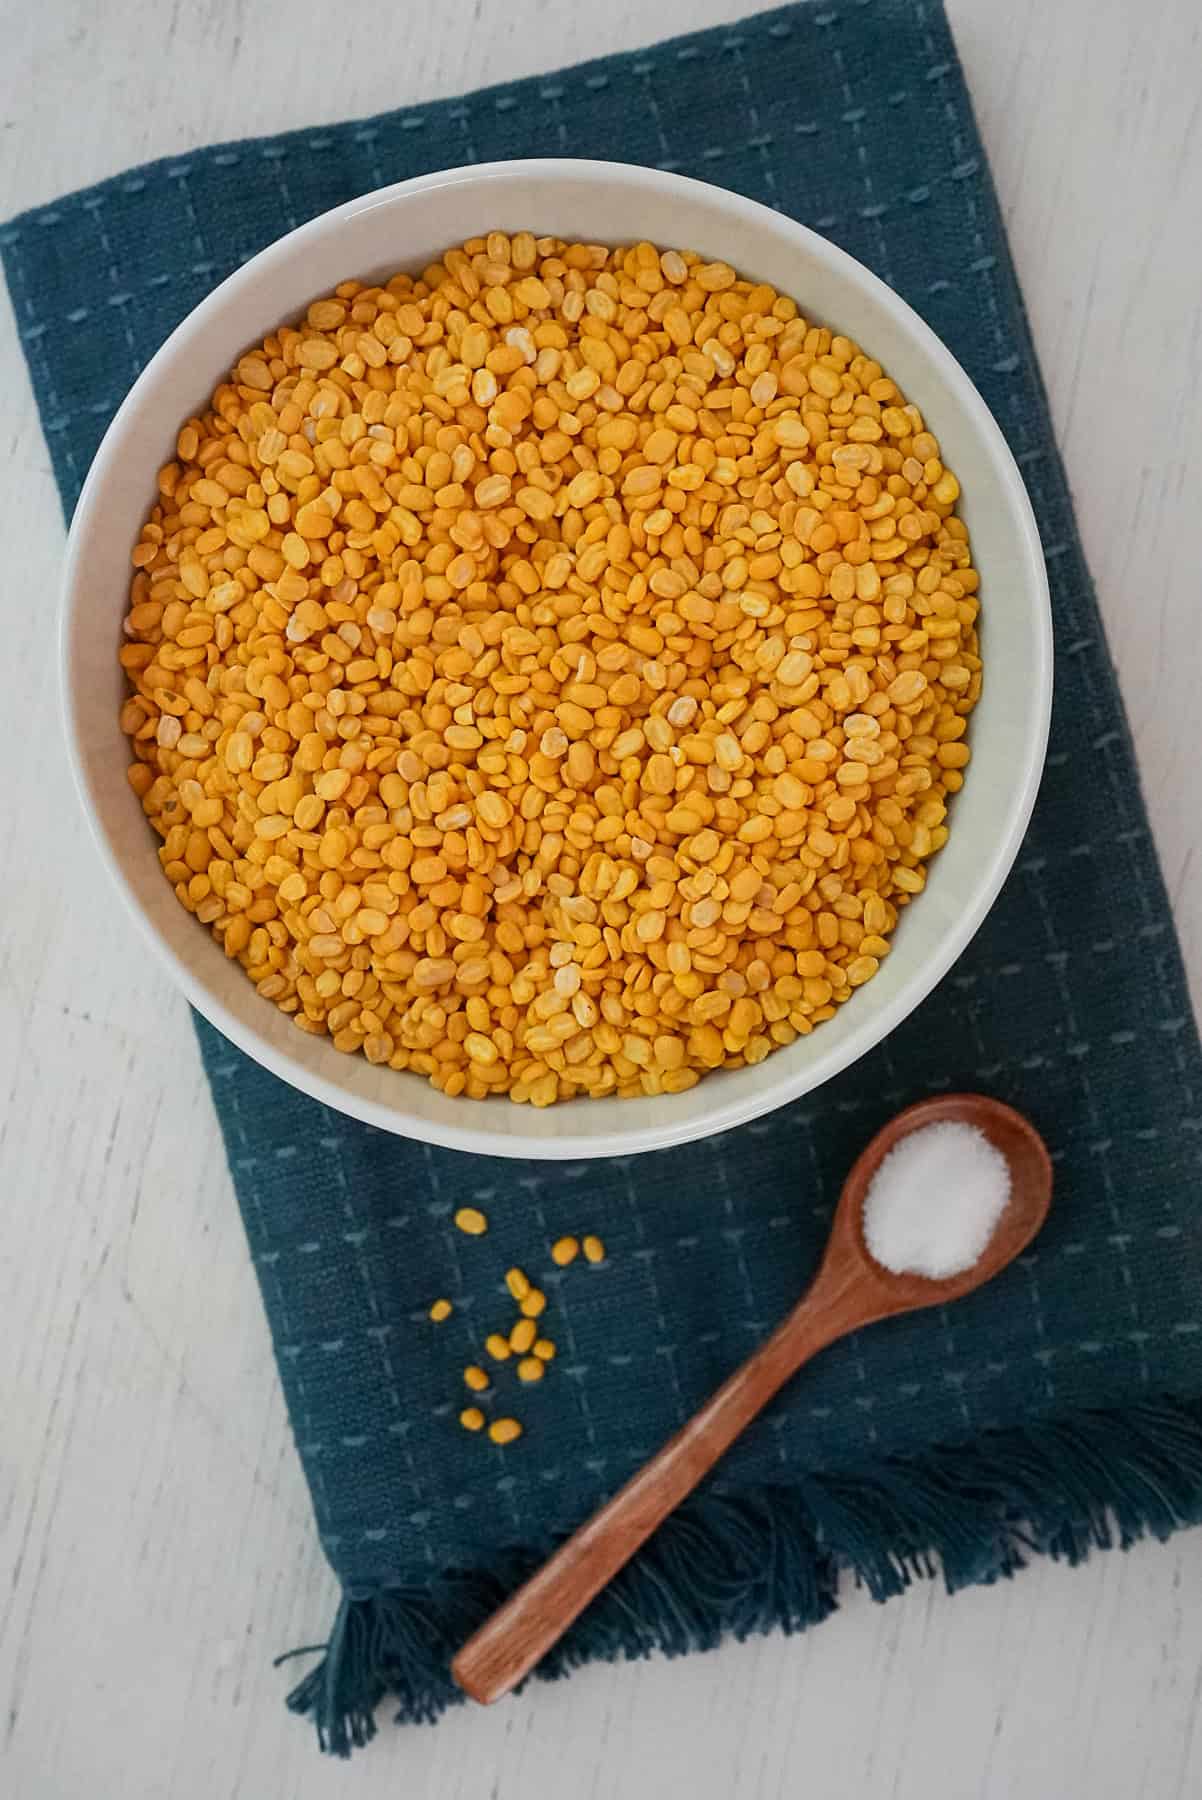
- Mung Beans: To make Crispy Mung Beans, you'll want to start with dried mung beans that have been shelled and split in half. They are often labelled as "Peeled" or "Shelled" Split Mung Beans. They are also known as "Moong Dal" lentils. They are bright yellow, small, and oval-shaped. Do not use the whole mung beans which are green.
- Oil: A mild-flavored oil with a high smoke point is preferred for frying the mung beans. I often use canola oil.
- Salt: A sprinkling of iodized table salt gives the crunchy mung beans some flavor.
Instructions
Because we are starting with dried mung beans, we'll need to do a bit of work to rehydrate and cook them prior to deep frying them. Follow these four steps:
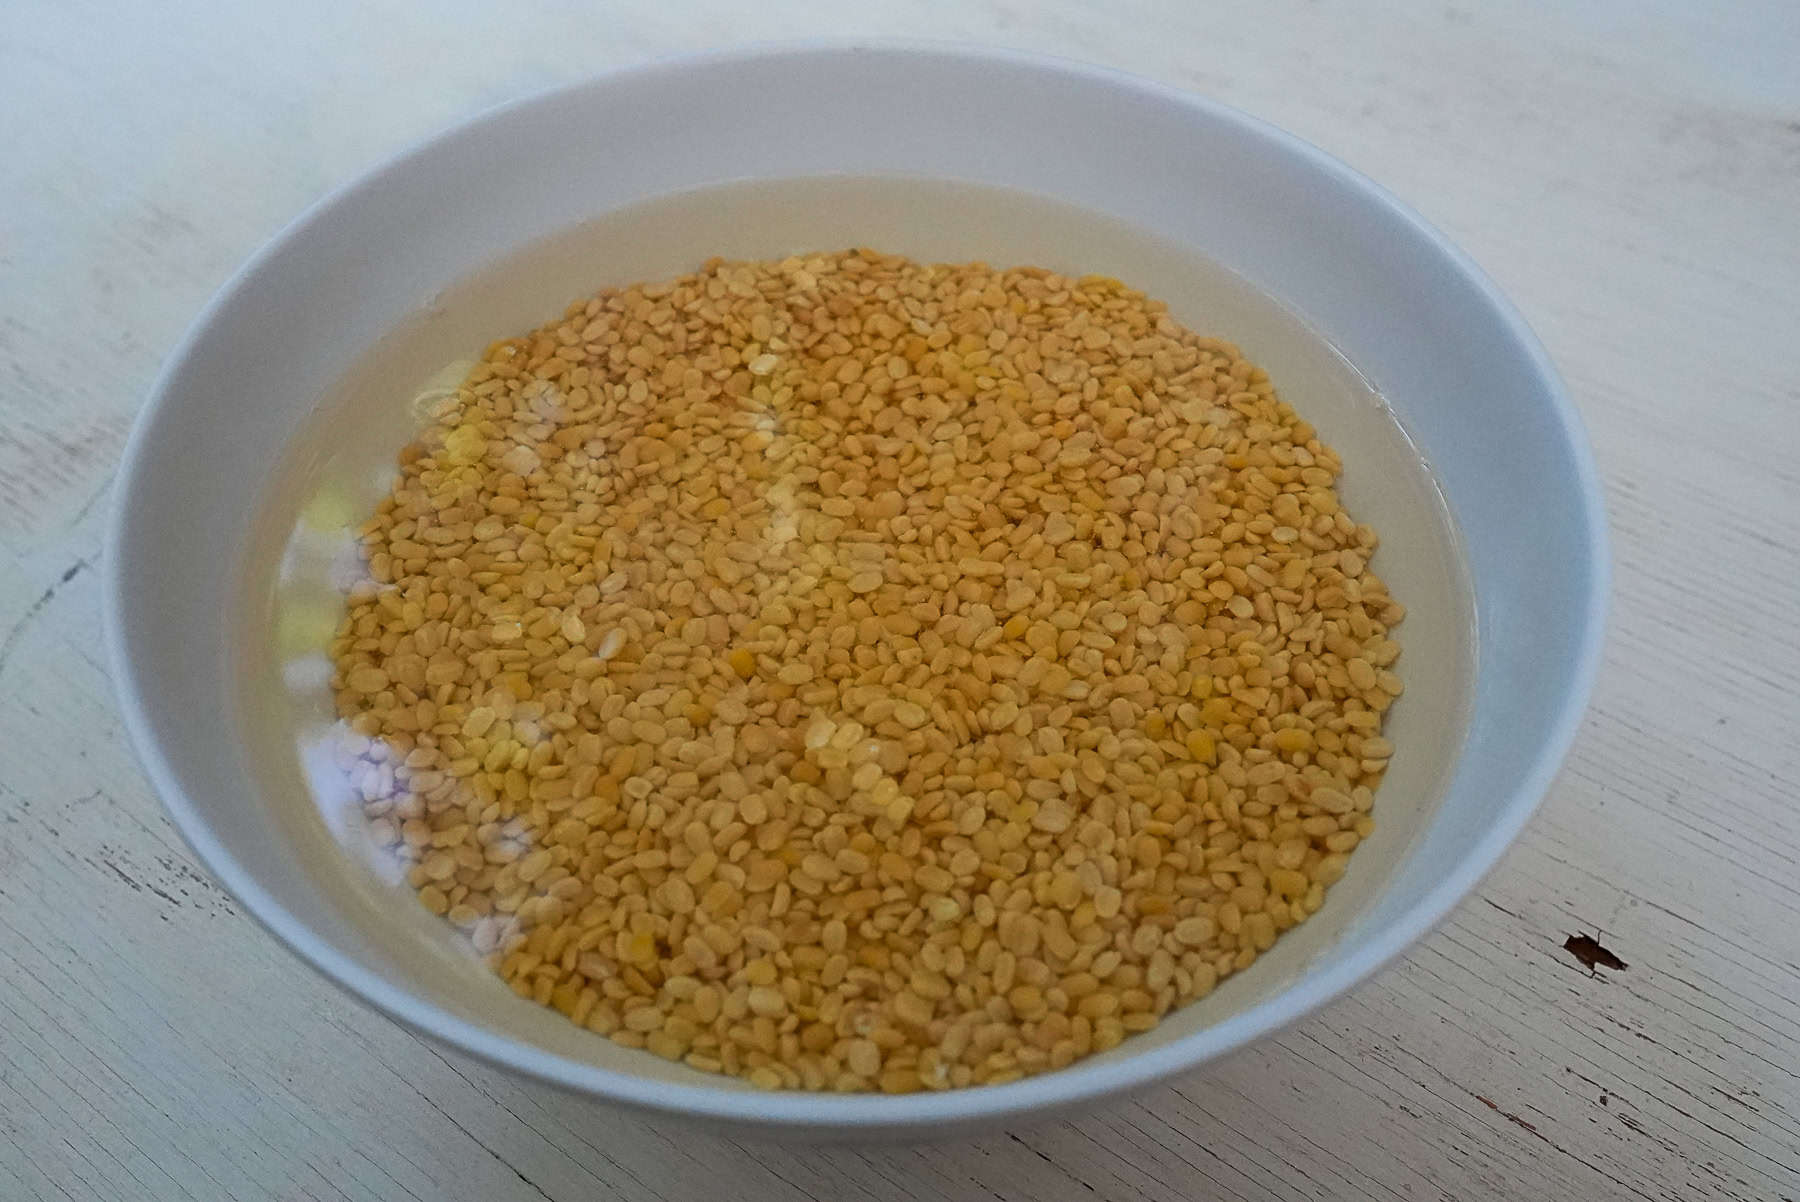
Soak the Mung Beans: Rinse the split mung beans until the water runs clear.1 Add water to cover the mung beans and soak for 4 hours.

Steam the Mung Beans: Pour the water off of the soaked mung beans, then transfer in cheesecloth to a steamer pot. Allow the beans to steam for 15 minutes.2
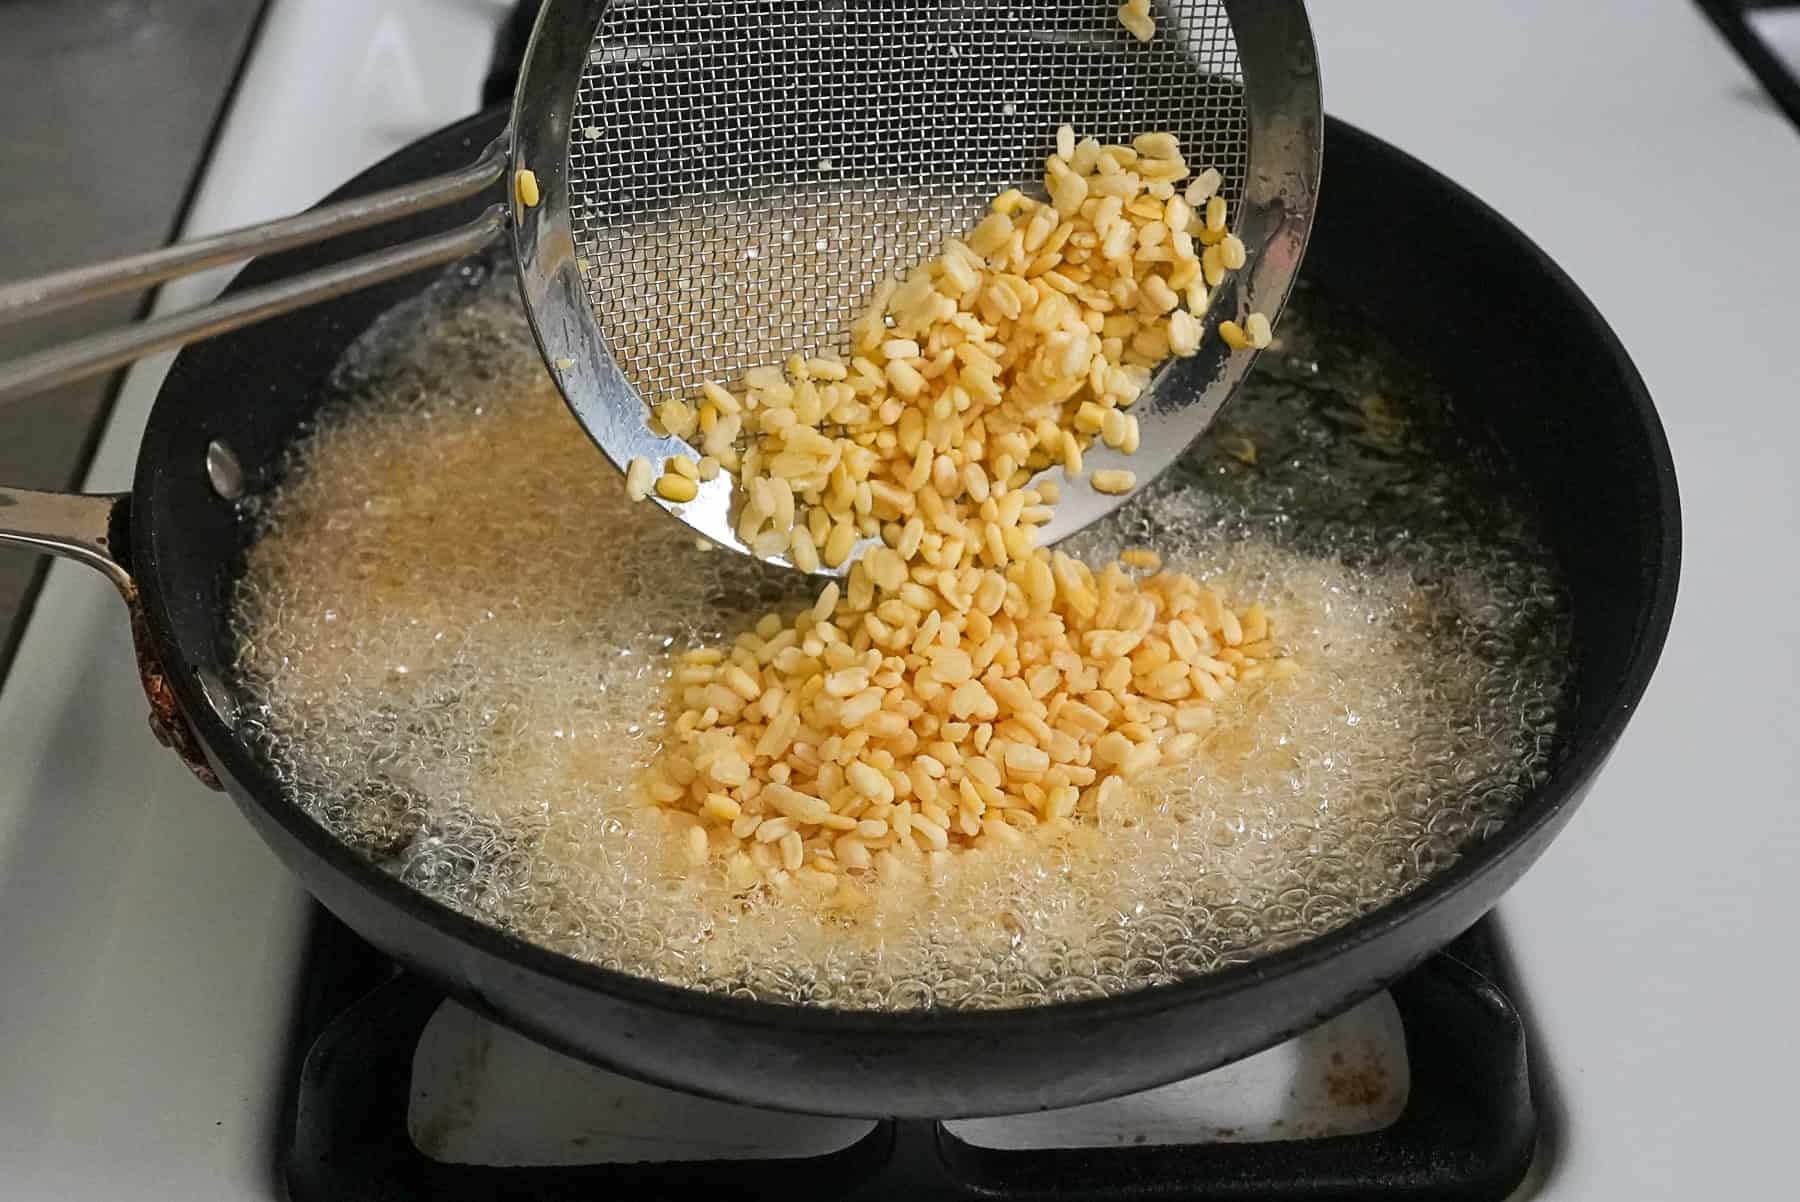
Fry the Mung Beans: Add oil to a pot and heat to medium high. Once the oil is hot, add the steamed mung beans and allow to fry until they are crispy.3
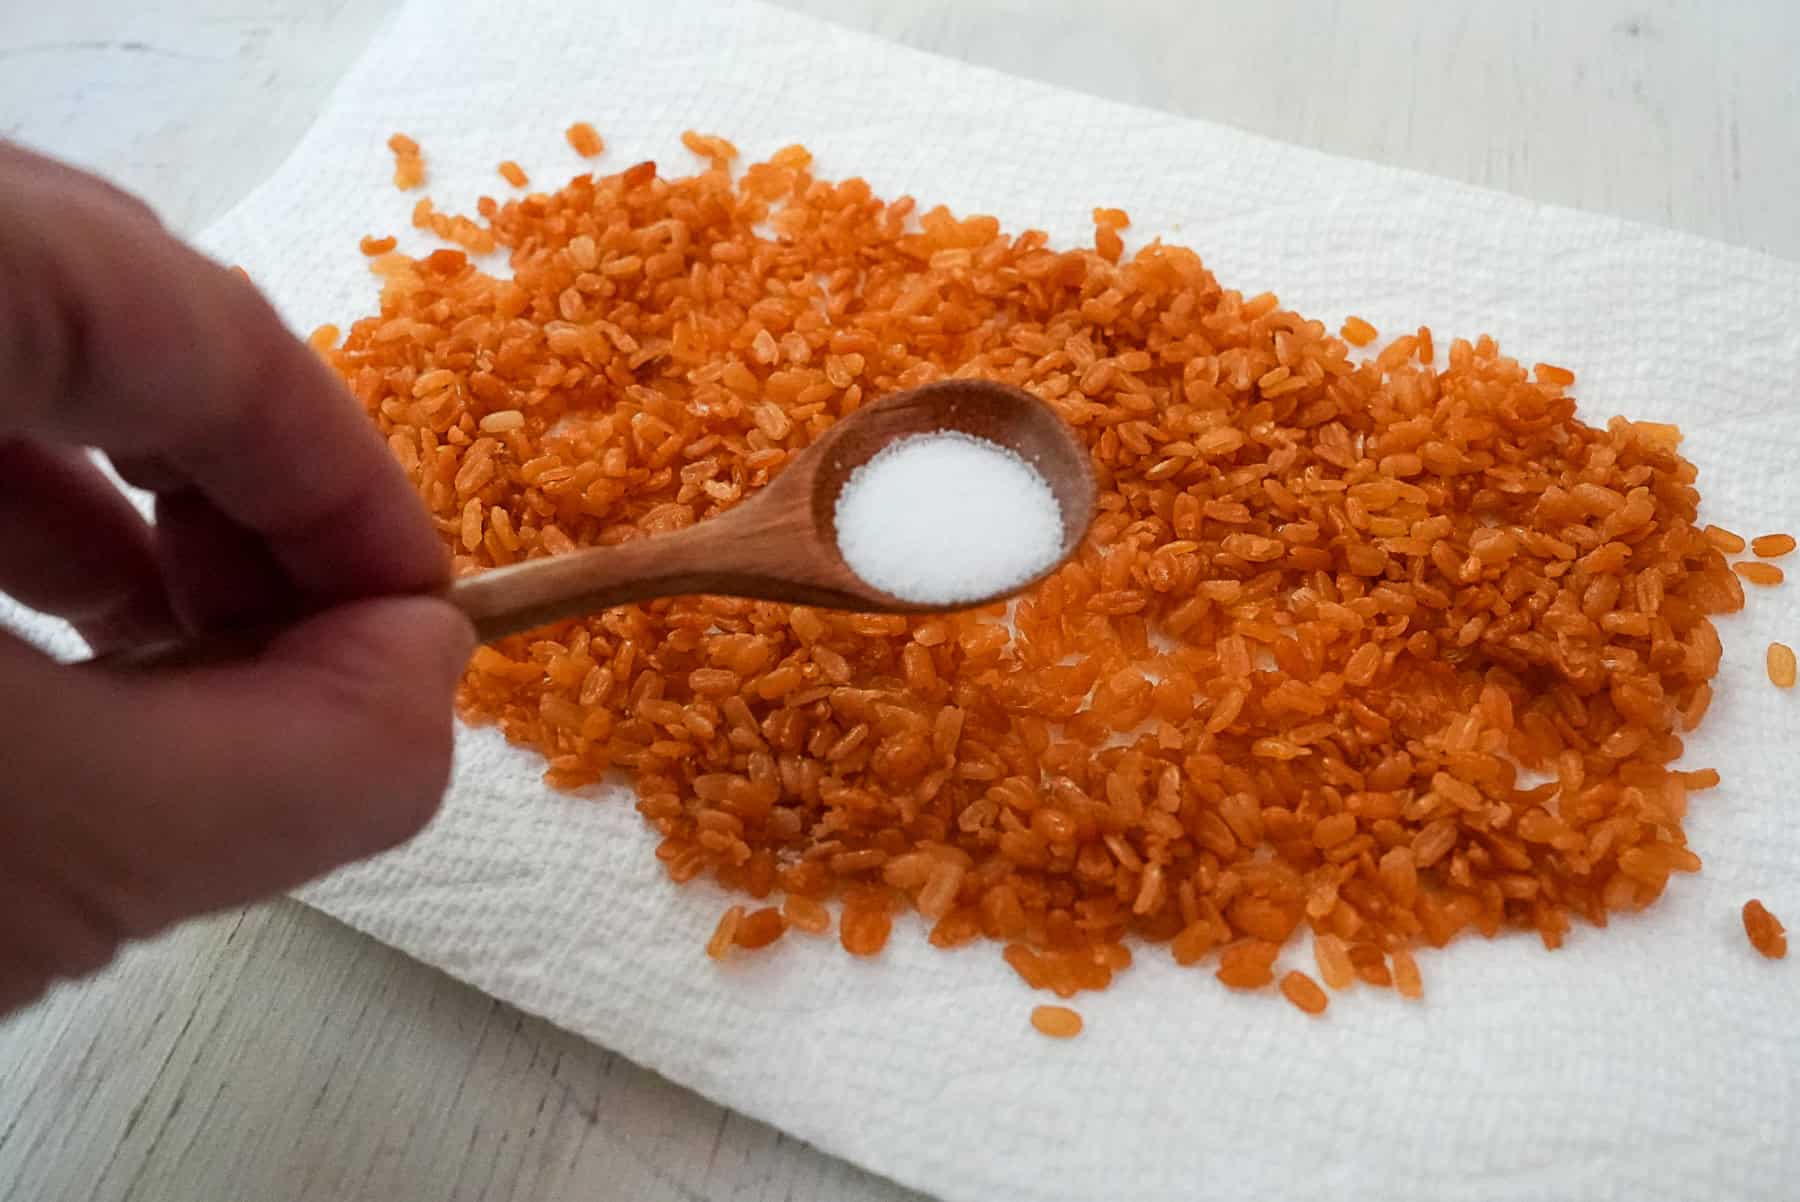
Sprinkle with Salt: Sprinkle the crispy mung beans with salt. Enjoy as a crunchy snack or use as a topping for various Thai desserts.
NOTES:
- Peeled split mung beans often have yellow dye added to make them even brighter yellow. Your initial rinses may be quite yellow, but the water will turn clear with enough rinsing.
- You want to rehydrate the mung beans without making them soggy. Once they've steamed for 15 minutes, take one out to check it. It should still be firm, yet able to be smashed between your fingers. If it can't be crushed, steam it for 5 more minutes.
- When the mung beans are initially added to the oil, the oil will bubble a lot. When the mung beans are done, there will be significantly fewer bubbles.
Storage
Crispy Mung Beans can be stored at room temperature for several weeks. If they are exposed to moisture, they will soften up and become less crunchy. Therefore, it's important to store them in an air-tight container.
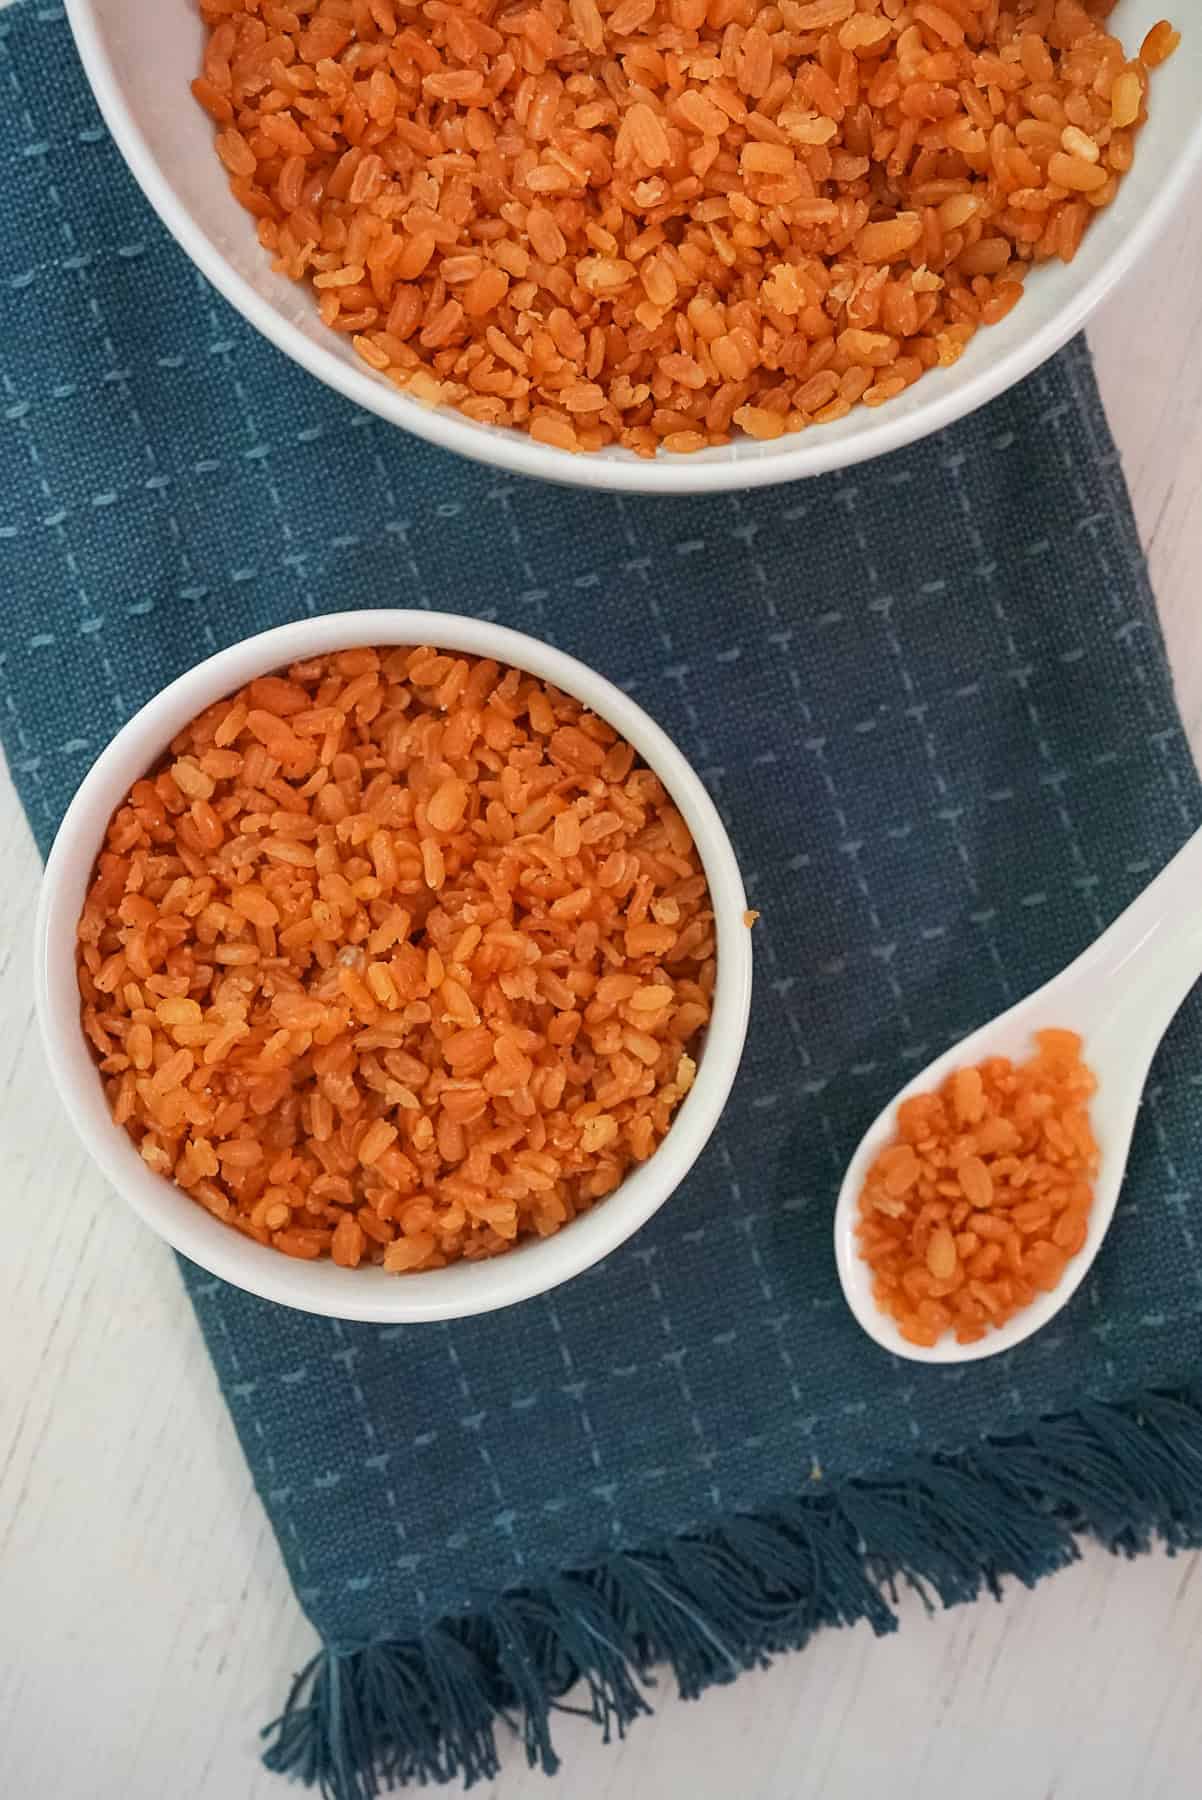
Though they require some time and careful preparation, these Crispy Mung Beans are truly worth the effort. Whether adding a salty crunch to popular Thai desserts or being savored on their own, these Crispy Mung Beans are sure to please.
Recipe
Crispy Mung Beans | Tua Tong Tod | ถั่วทองทอด
Equipment
Ingredients
- 1 cup shelled, split mung beans
- oil for frying
- ¼ teaspoon salt
Instructions
- Soak the Mung Beans: Rinse the split mung beans until the water runs clear.1 Add water to cover the mung beans and soak for approximately 4 hours.
- Steam the Mung Beans: Pour the water off of the soaked mung beans, then transfer the beans to a damp cheesecloth. Place the cheesecloth-wrapped beans in the top of a steamer pot. Add water to the bottom of the steamer, close the lid, and bring to a boil. Allow the beans to steam for 15 minutes, then remove and place the beans on a paper towel to absorb any extra moisture.2
- Fry the Mung Beans: Add oil to a pot and heat to medium high. Once the oil is hot, add the steamed mung beans and allow to fry until they are golden brown and crispy. In my experience, this takes about 5 minutes. Remove the mung beans from the oil and drain on a paper towel.3
- Sprinkle with Salt: Sprinkle the crispy mung beans with salt. Enjoy as a crunchy snack or use as a topping for various Thai desserts.
Notes
- Peeled split mung beans often have yellow dye added to make them even brighter yellow. Your initial rinses may be quite yellow, but the water will turn clear with enough rinsing.
- You want to rehydrate the mung beans without making them soggy. Once they've steamed for 15 minutes, take one out to check it. It should still be firm, yet able to be smashed between your fingers. If it can't be crushed, steam it for 5 more minutes.
- When the mung beans are initially added to the oil, the oil will bubble a lot. When the mung beans are done, there will be significantly fewer bubbles.


Leave a Reply