
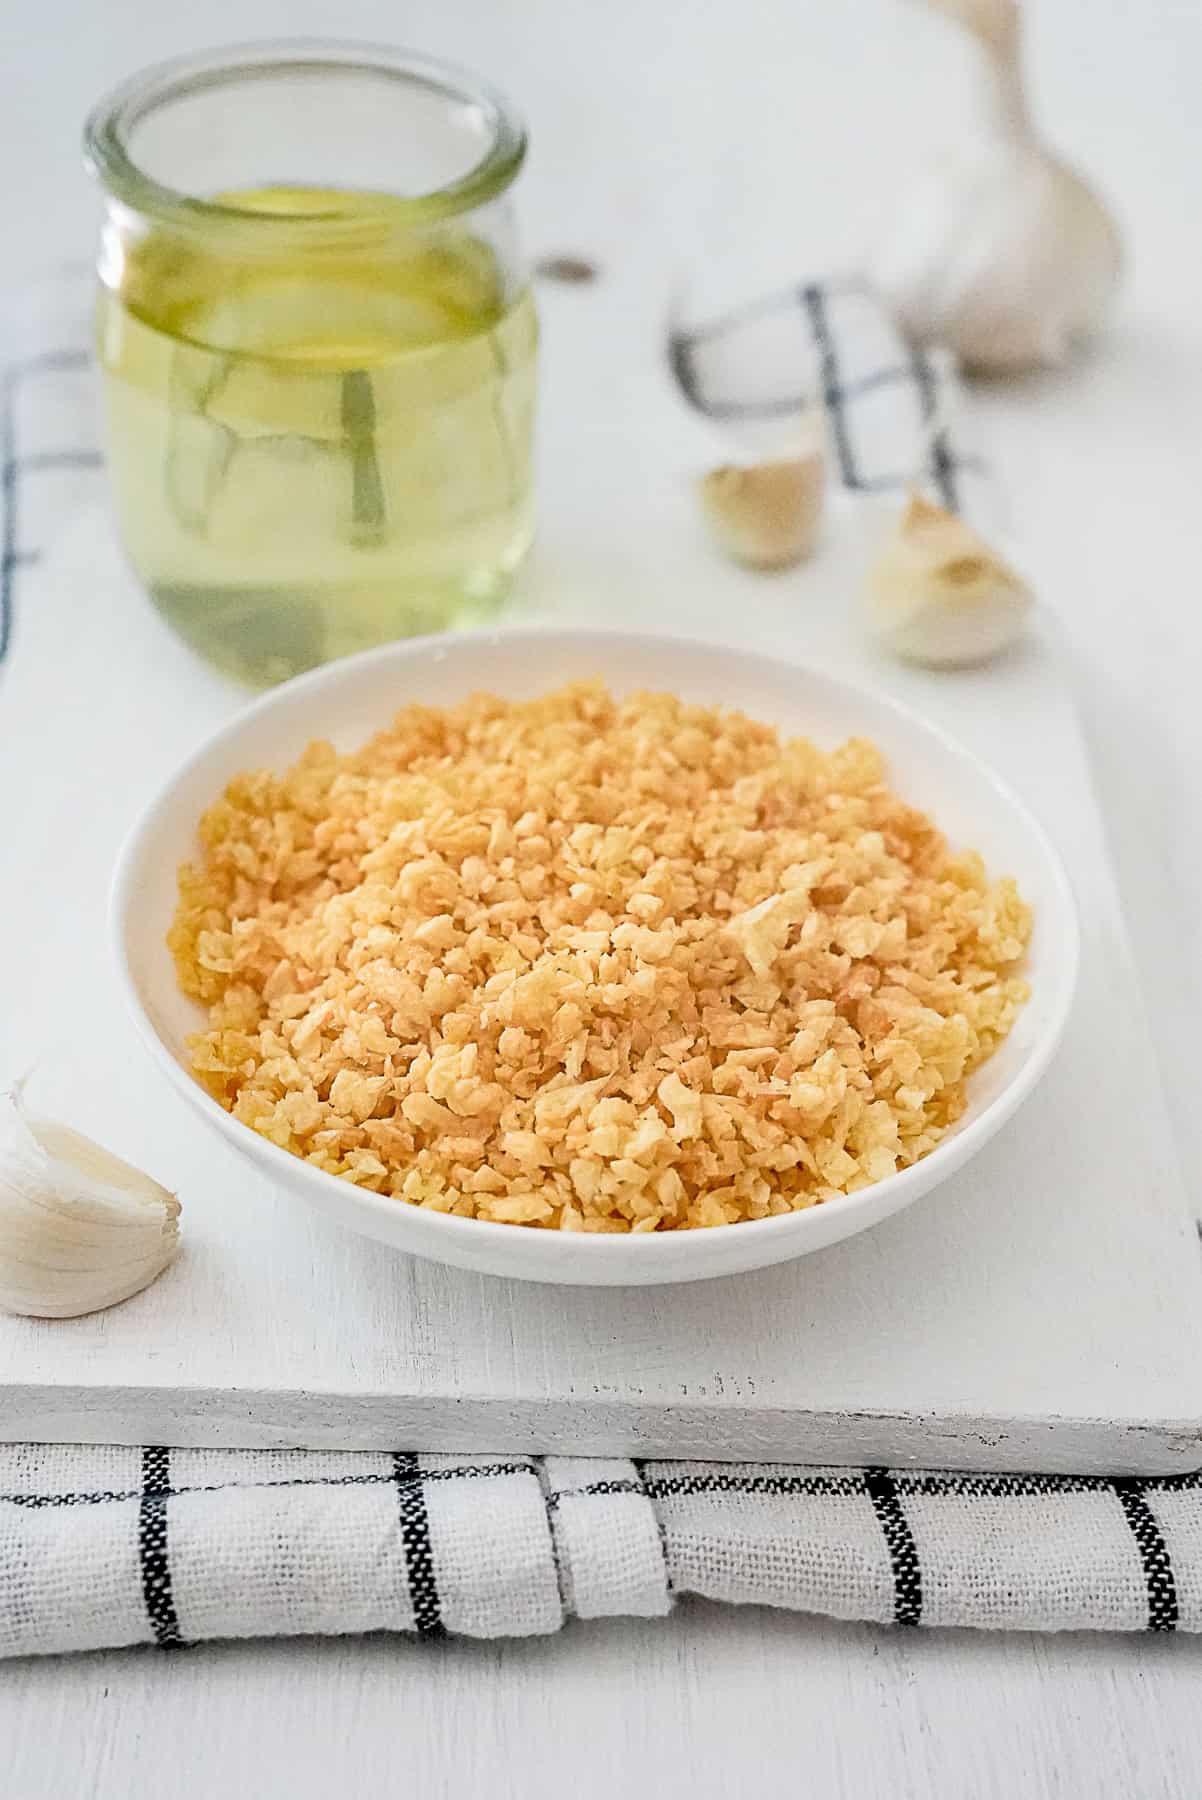
Fried garlic is an essential ingredient in Thai cuisine. These crispy morsels of garlic and the resulting garlic oil are used to add flavor to so many different dishes, from sprinkling on stir fries to topping noodle soups.
Thai cuisine makes good use of the crispy morsels of aromatic goodness that are fried garlic. These crunchy bits of concentrated garlic flavor are especially prominent in Northern Thai cuisine, but they're also quite prevalent throughout the country. Fried garlic and its accompanying garlic oil are used to add flavor to various appetizers, salads, stir fries, soups, rice dishes, and noodle dishes. Soups such as Gang Jeud, noodle dishes like Bamee Hang, and rice dishes like Khao Man Gai all benefit from a generous scoop of fried garlic.
Fried garlic can be bought at Asian markets, but the taste and aroma is so much better when it's freshly homemade. Fortunately, making fried garlic and garlic oil is quite easy. However, it does require close attention and proper technique to make it correctly. I'll walk you through all of the details so that you can enjoy crisp fried garlic with your next Thai meal.
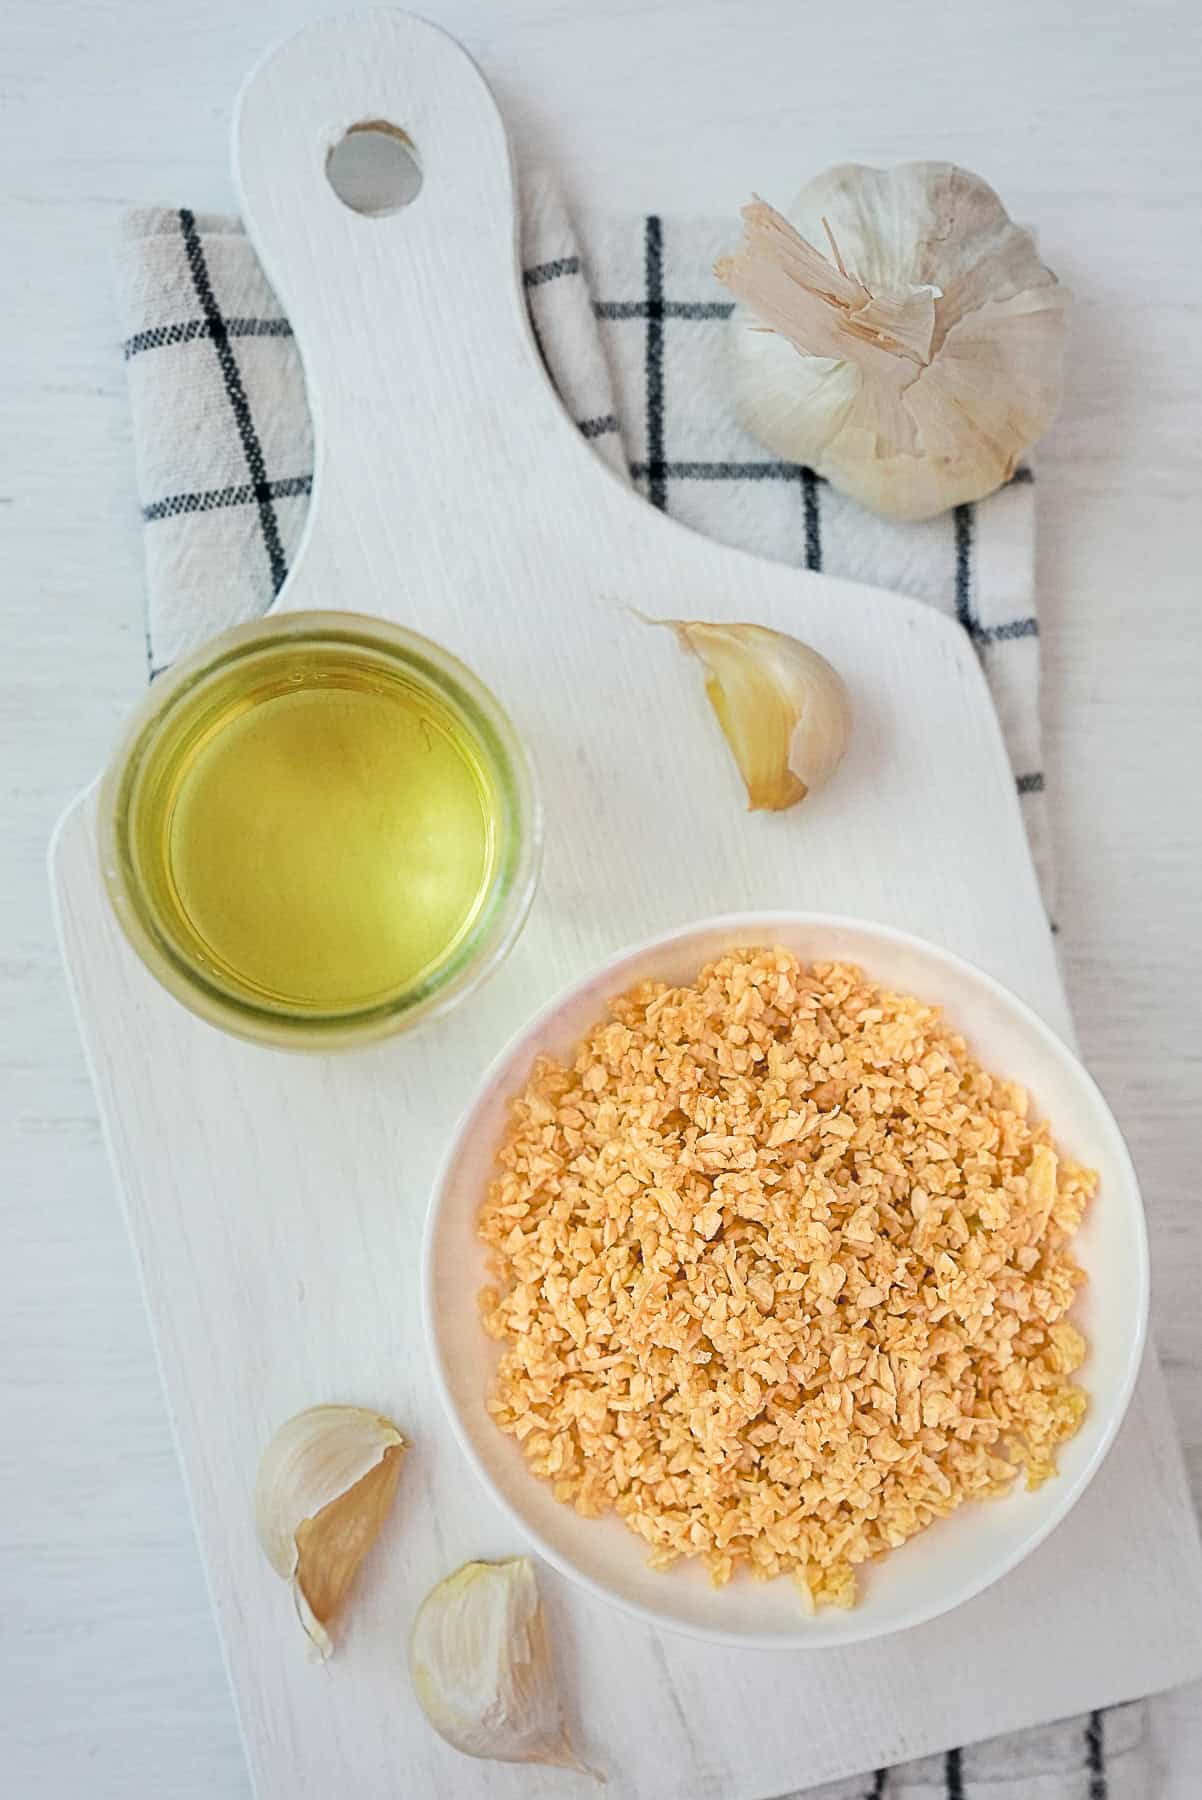
Ingredients
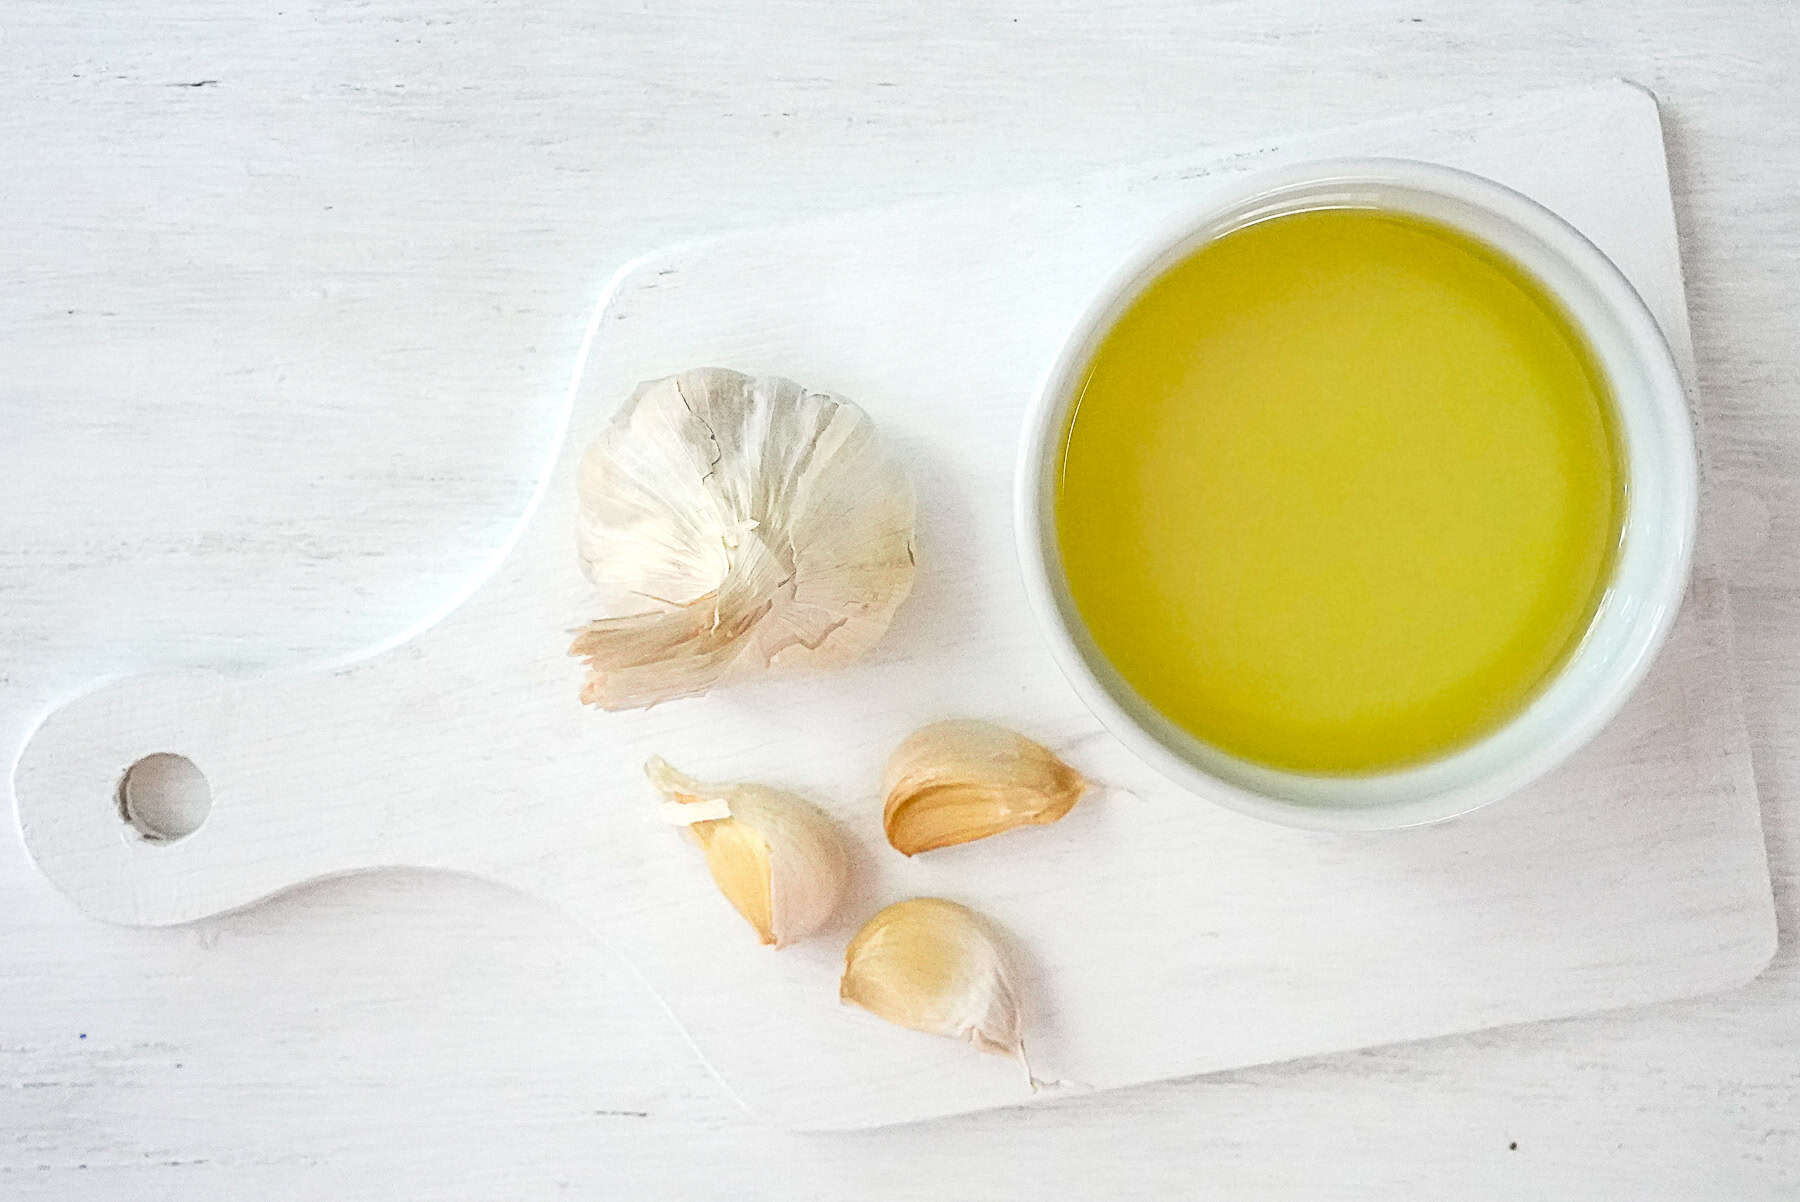
- Garlic: The garlic we have in the U.S. is different than the garlic used in Thailand. Thai garlic is smaller and the skin is much thinner, so it can be cut and fried with the skin still on. The skin of western garlic is much too thick to eat, so it's important to peel the garlic before cutting and frying it. There are several different ways to cut the garlic, which are presented below.
- Oil: A mild-flavored oil with a high smoke point is ideal for frying garlic. Canola oil, vegetable oil, and palm oil would all work well. You want to avoid oils that are strongly flavored such as sesame oil and olive oil as they would detract from the garlic flavor.
Ways to Cut the Garlic
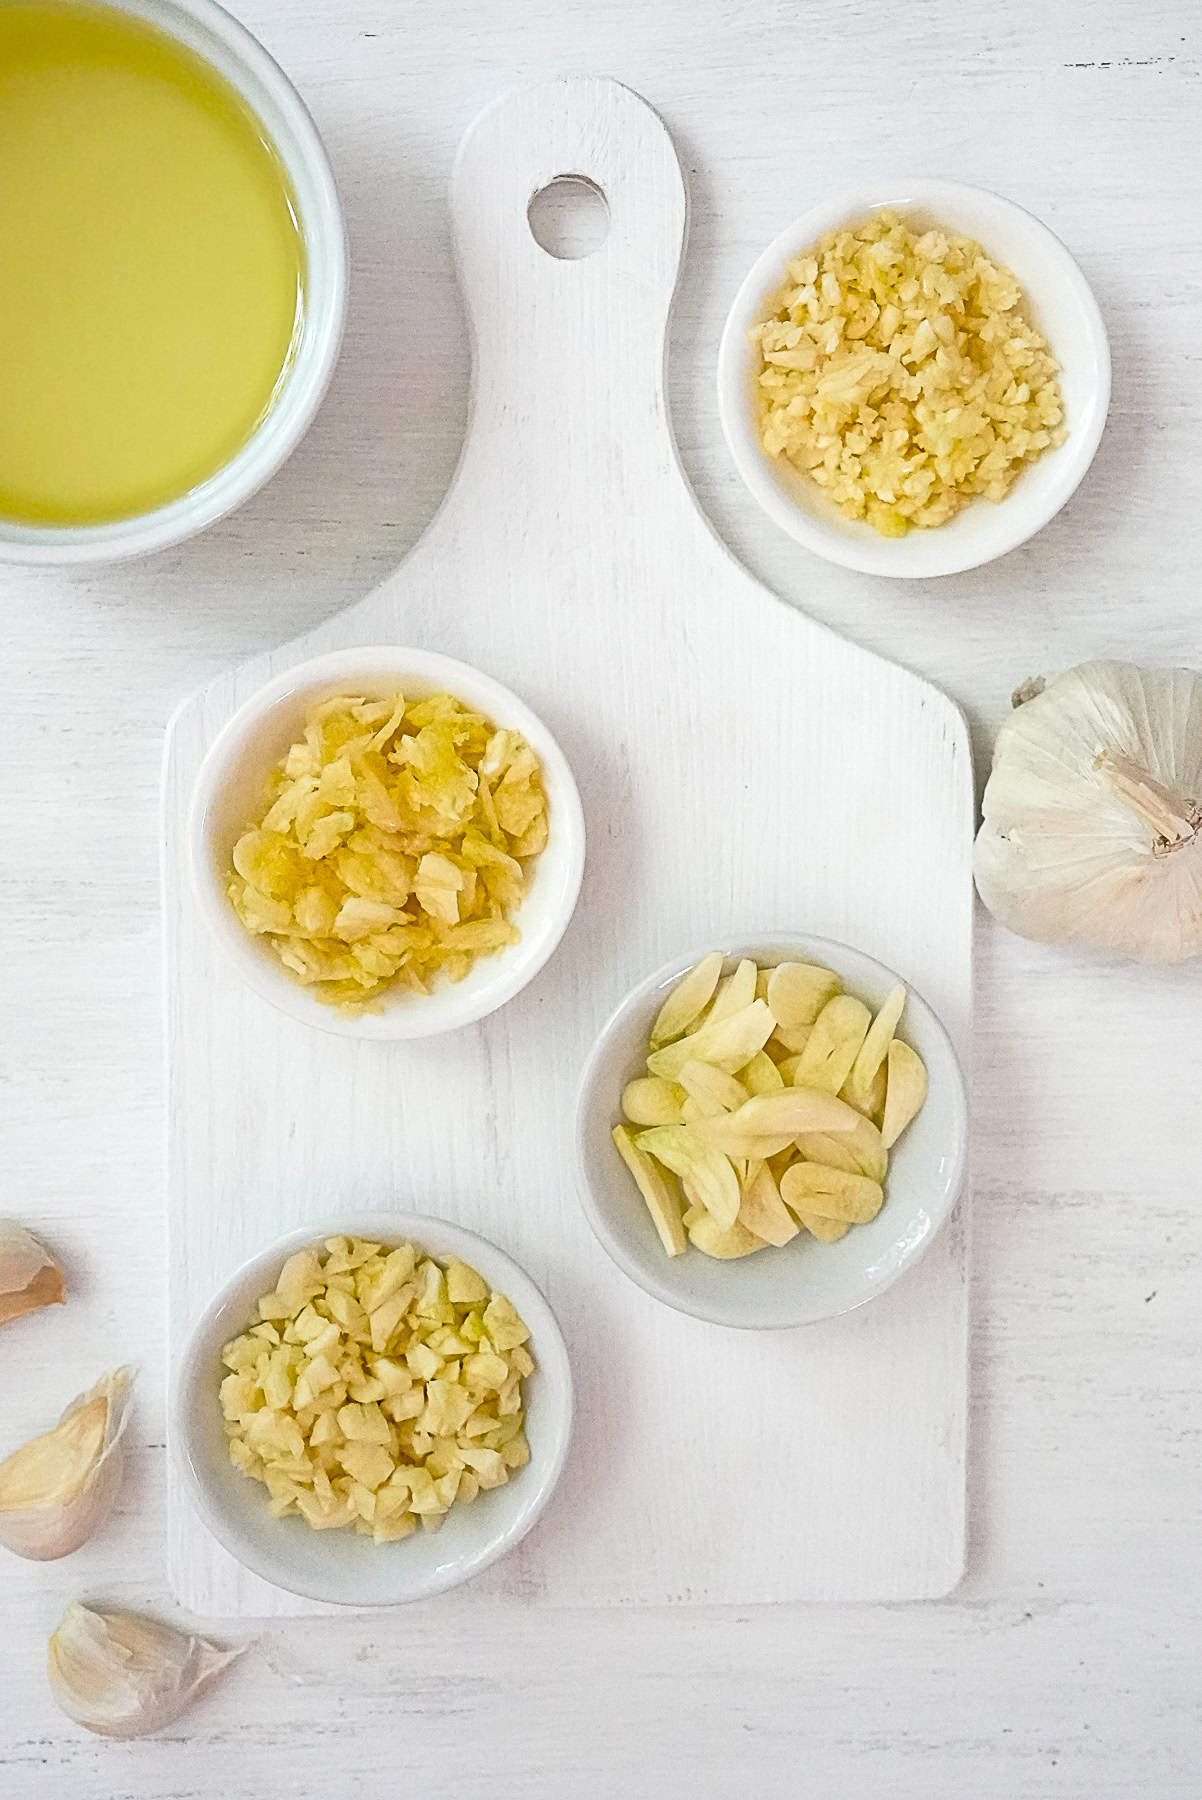
There are several different ways that you can cut the garlic before frying it. Each method has its own pros and cons. The key with all of these methods is for the resulting pieces of garlic to be of similar enough size that they cook in roughly the same time frame. That way, you lessen the risk of some garlic burning while the rest is still cooking.
- Mortar and Pestle: The traditional Thai way of cutting garlic is to use a mortar and pestle to pound it into smaller bits. Your resulting garlic pieces are bigger than minced garlic, and therefore, less prone to burning.
- Food Processor: Using a food processor is the quickest and easiest way to chop garlic. The resulting garlic pieces are all of uniform size. However, they do tend to be smaller and therefore are easier to burn than bigger pieces.
- Chop: Chopping the garlic with a chef's knife allows you to control the size of the pieces. This can help prevent burning; however, it's harder to ensure that all of the garlic pieces are the same size.
- Slice: If you prefer garlic chips, you can use a chef's knife to slice the garlic. Simply slice the garlic cloves into thin horizontal strips, aiming for roughly the same thickness between pieces.
Instructions
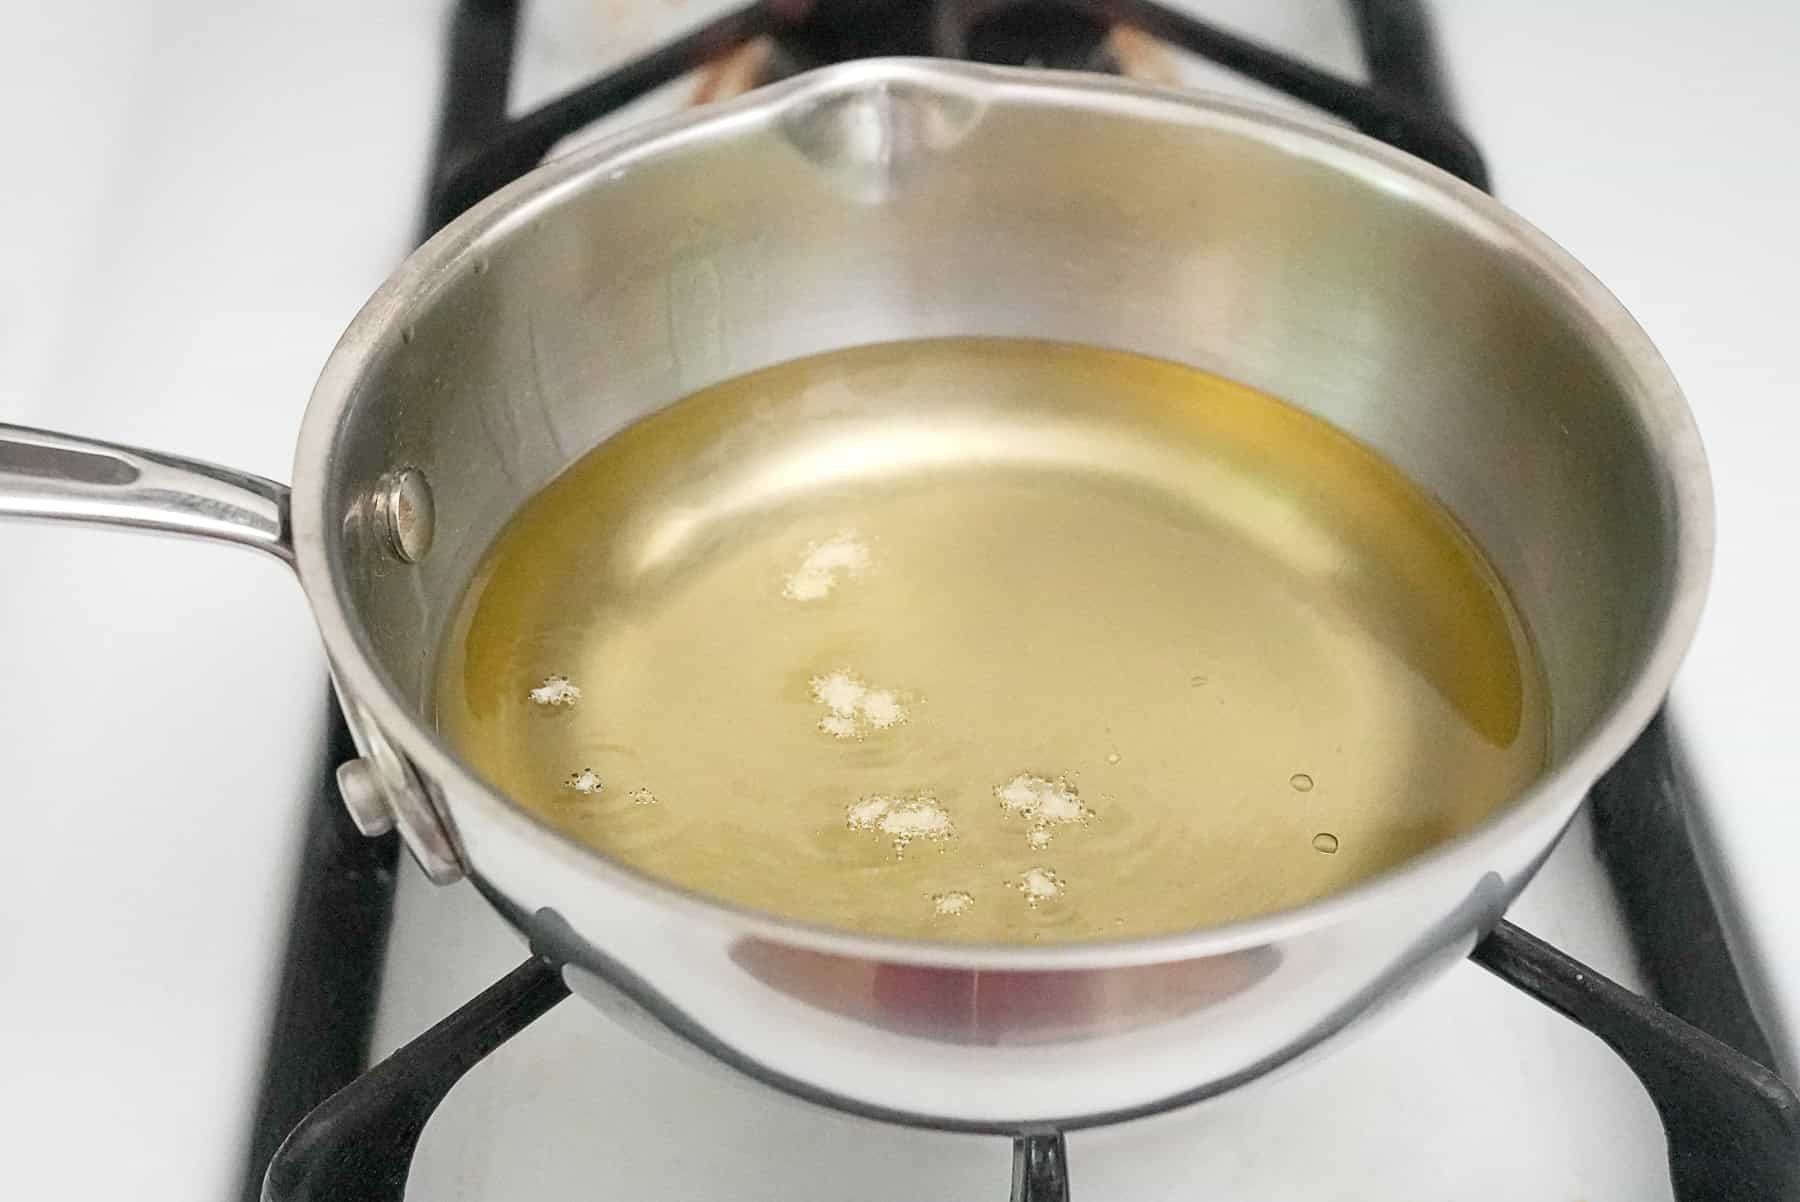
Add oil to a small pot and heat to medium heat. Once the oil is hot, add a test piece of garlic. If it bubbles up in the oil immediately, the oil is ready.
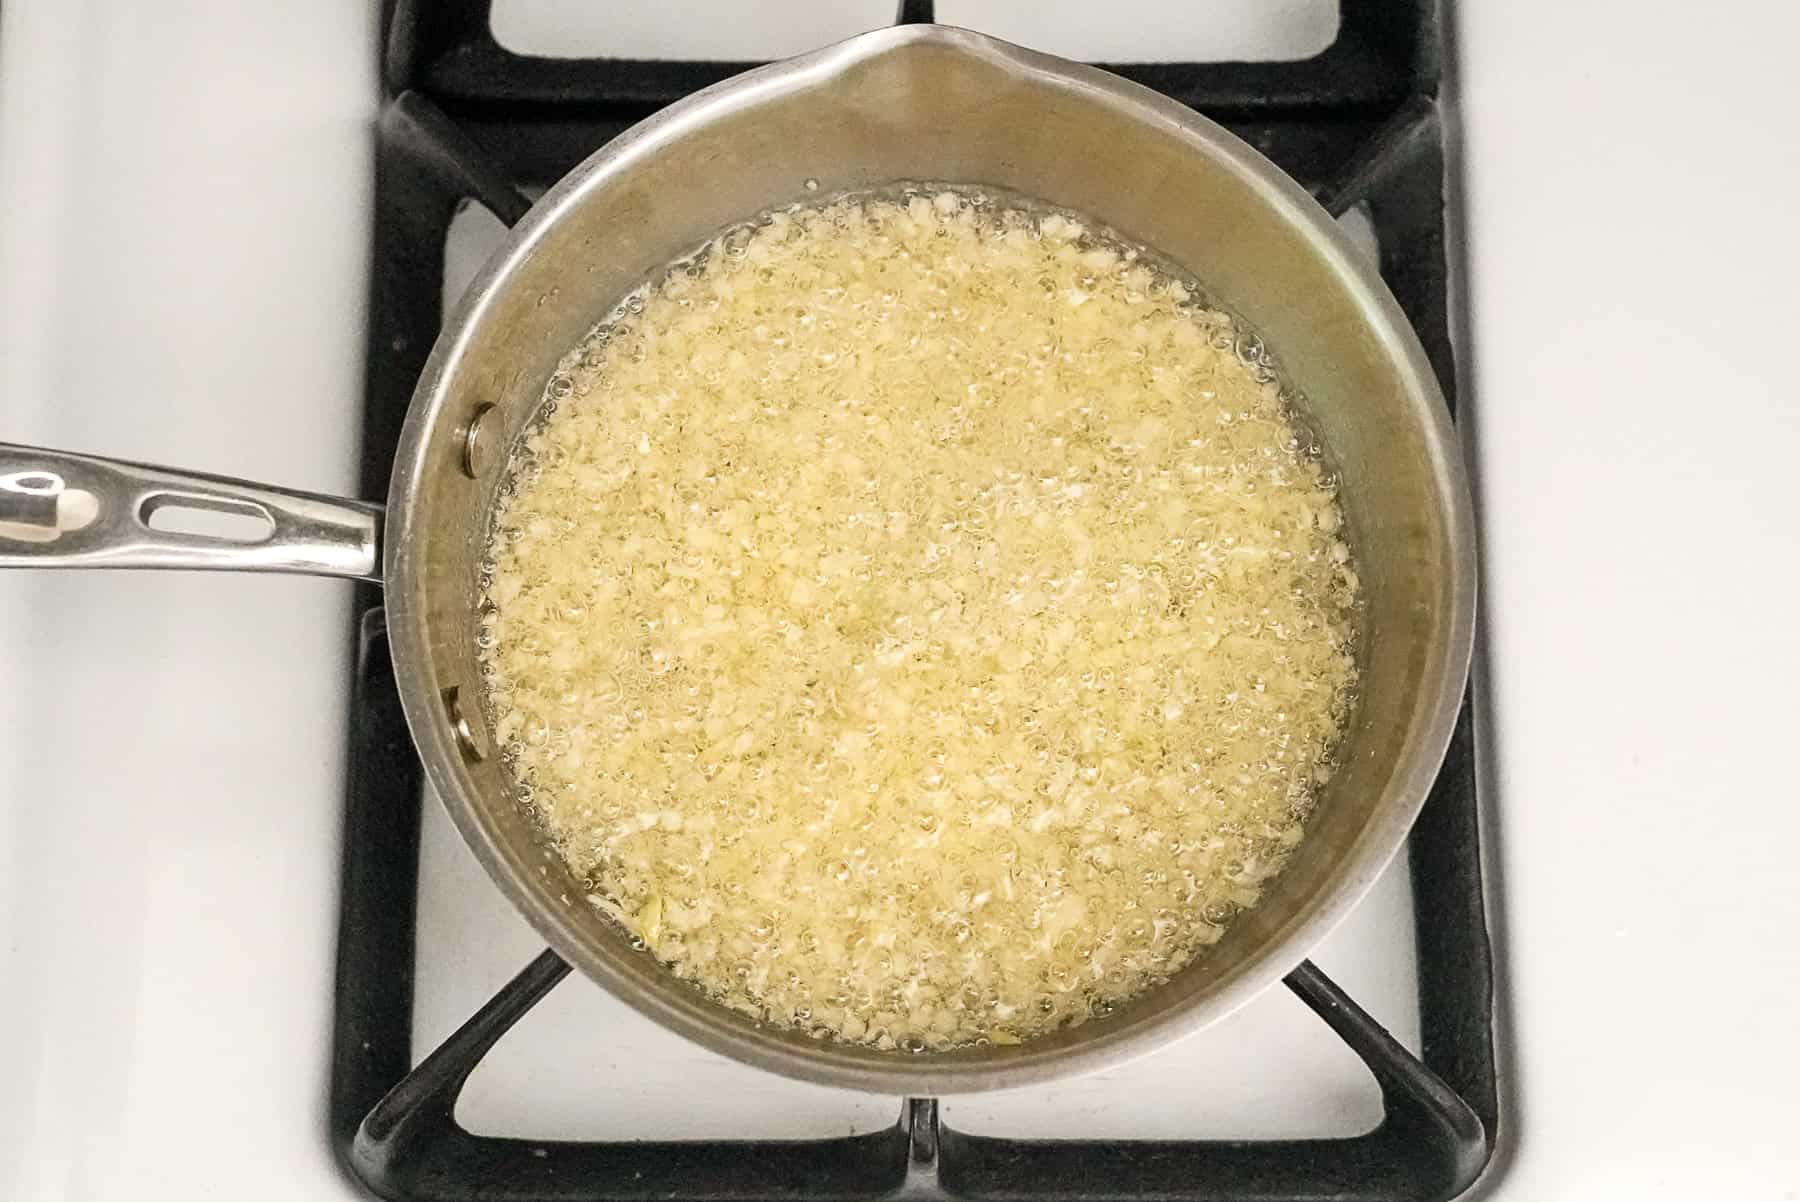
Add the rest of the garlic to the oil. It should bubble a lot. Stir the garlic often, and watch it closely. As it becomes crispy, the oil will bubble less.
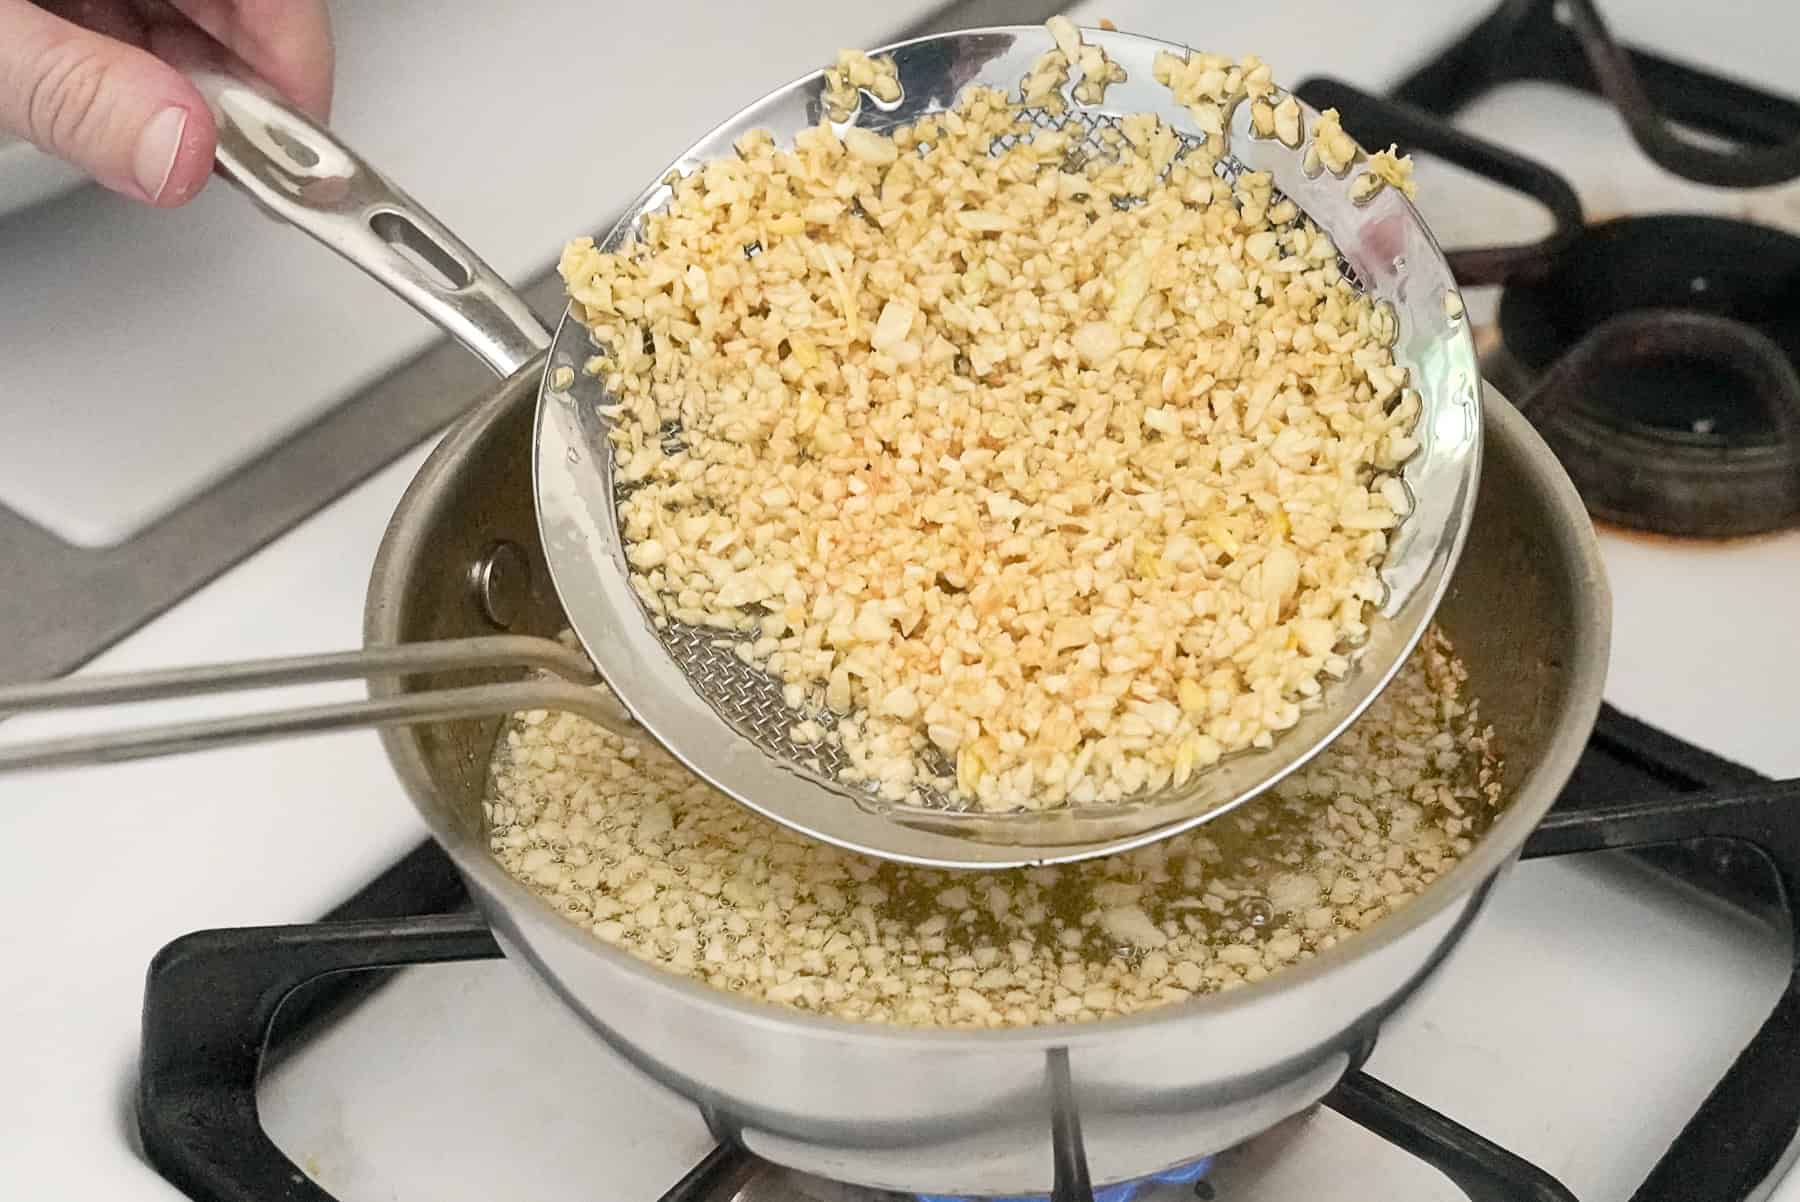
Once the garlic starts to become a golden color and the oil bubbles less, scoop the fried garlic out of the oil.
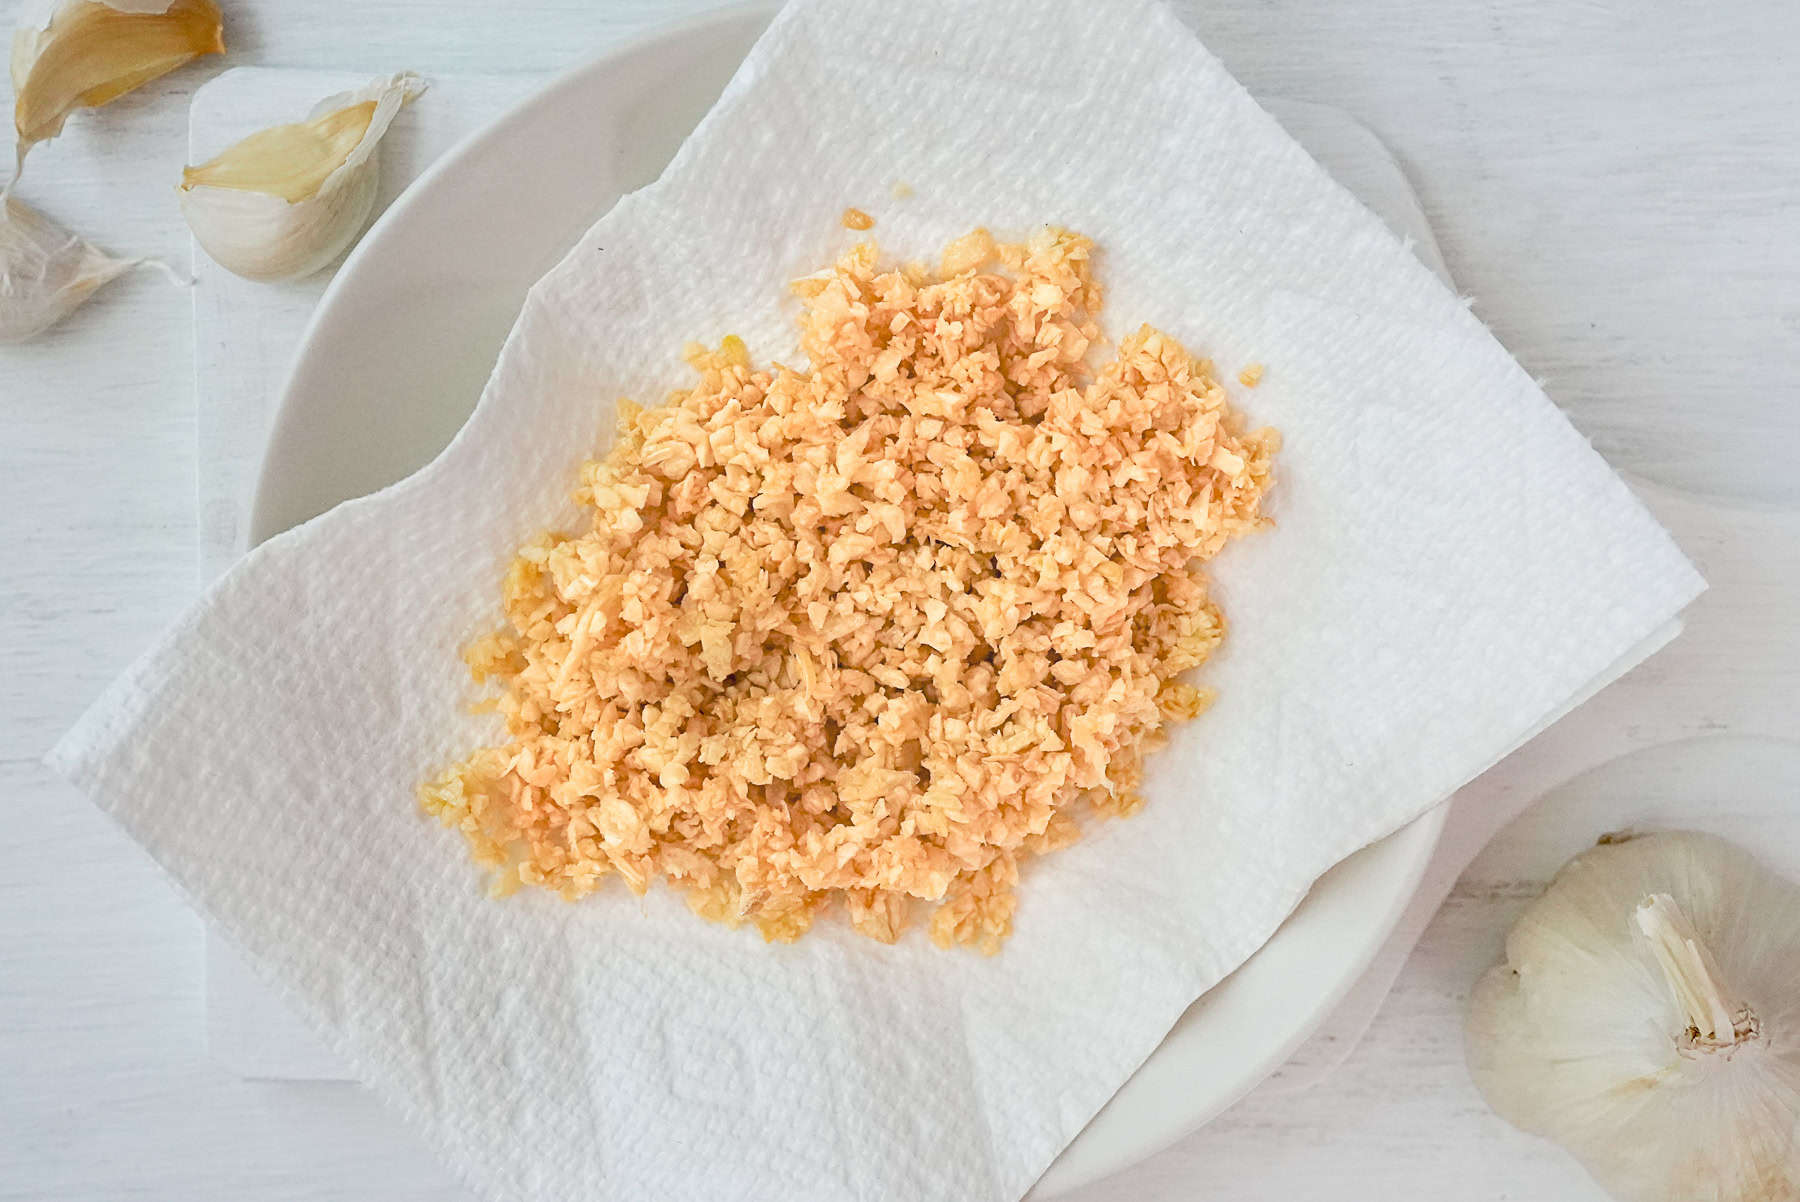
Let the fried garlic drain on a paper towel. Strain the remnants of the garlic out of the oil and save the garlic oil as well.
Key Tips for Frying Garlic
- Cut the garlic into uniform sizes: Regardless of which method you choose to cut the garlic with, it's important that the garlic pieces are all roughly the same size. That way, the smaller pieces don't burn while the larger pieces are still cooking. Some variation in size is normal, of course, but your goal should be roughly uniform pieces.
- Cook at medium (or lower) heat: The temperature of the oil is crucial to the success of fried garlic. It should be hot enough that it bubbles immediately when the garlic is added, but not so hot that it burns the garlic. As the water content of the garlic is drawn out, the bubbling of the oil will lessen, which is how you know it's nearly done. Steady, medium heat helps to draw the water out, leaving the garlic crispy without burning it.
- Watch the garlic very closely: Frying garlic is a test of patience. It will look like nothing is happening for several minutes, then all of the sudden, the garlic will go from golden to burnt in a matter of seconds. It's so important to keep a constant eye on the garlic as it fries, and take it out as soon as it develops some color. It will continue to cook for a while after removing it from the oil, so take it out before it's golden brown.
Storage
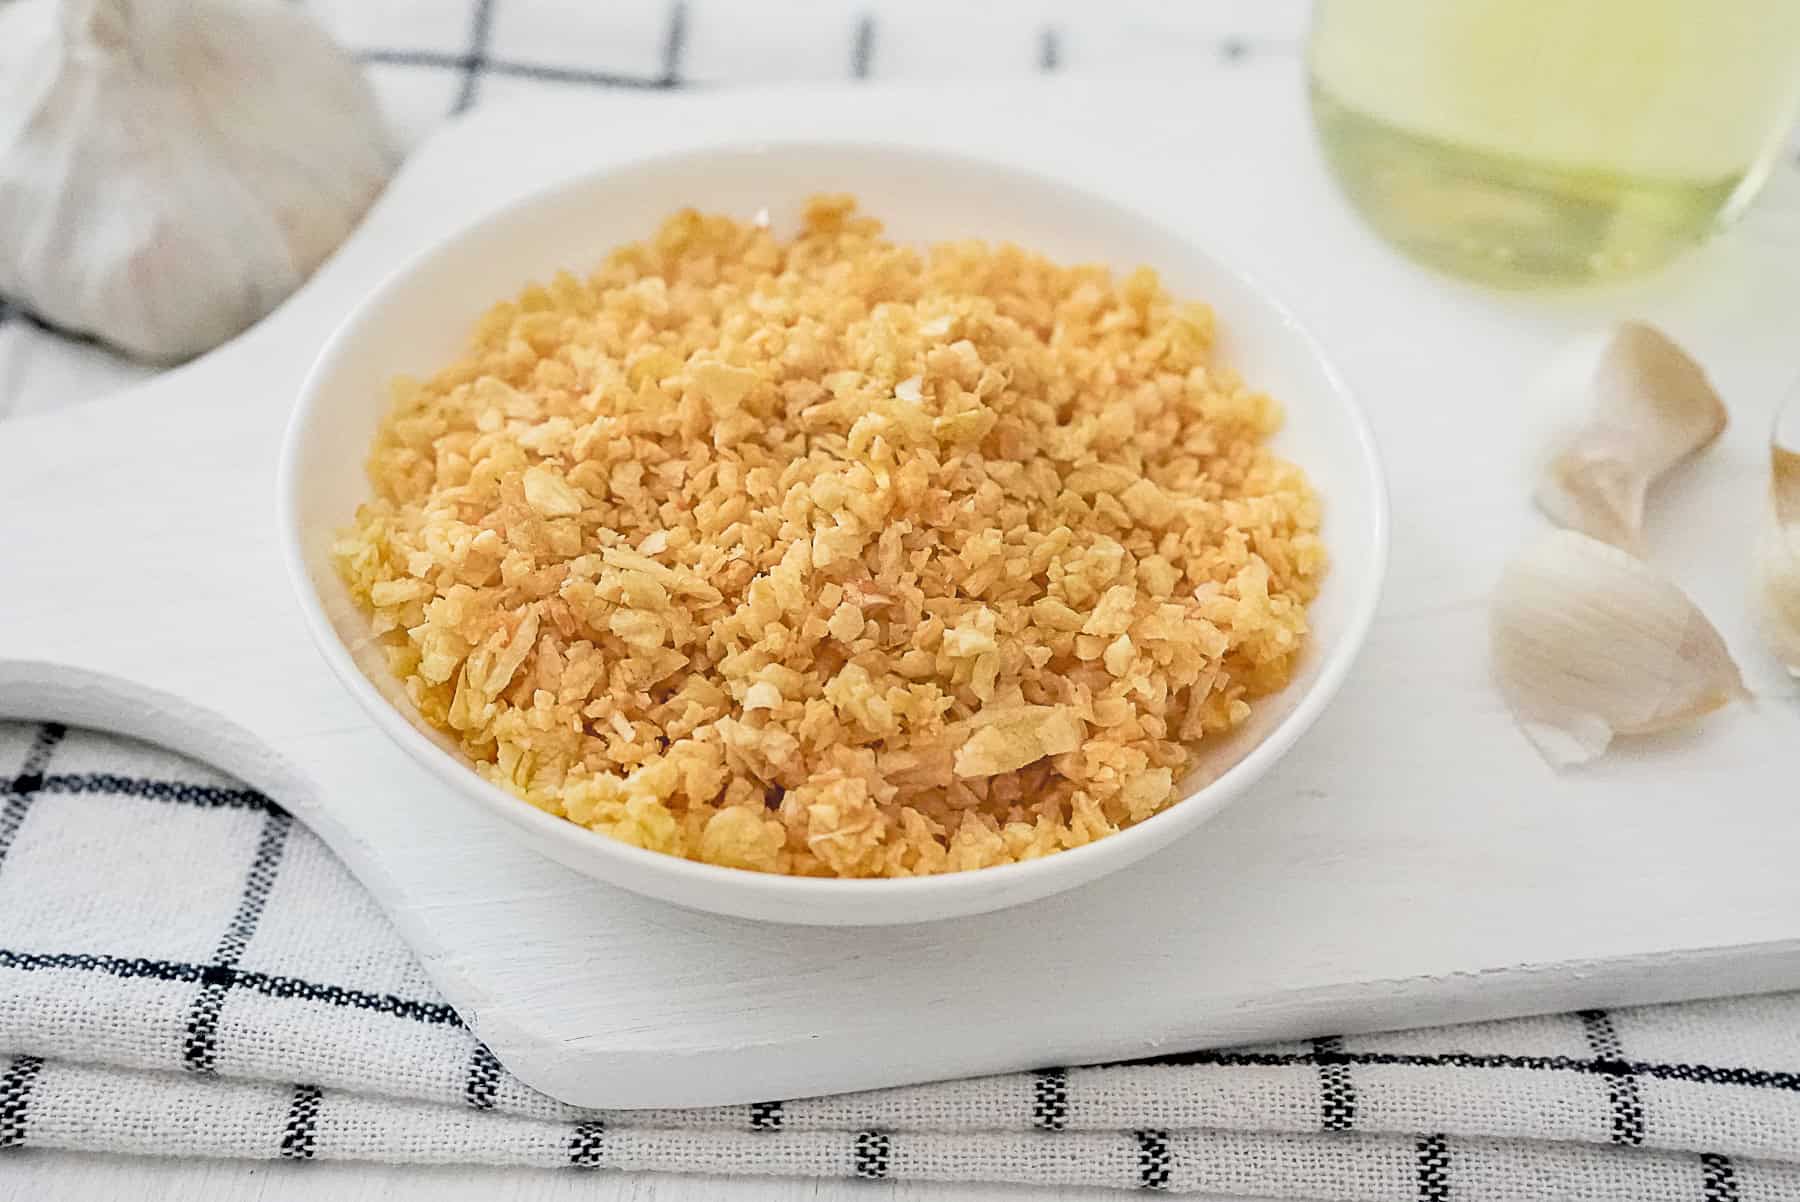
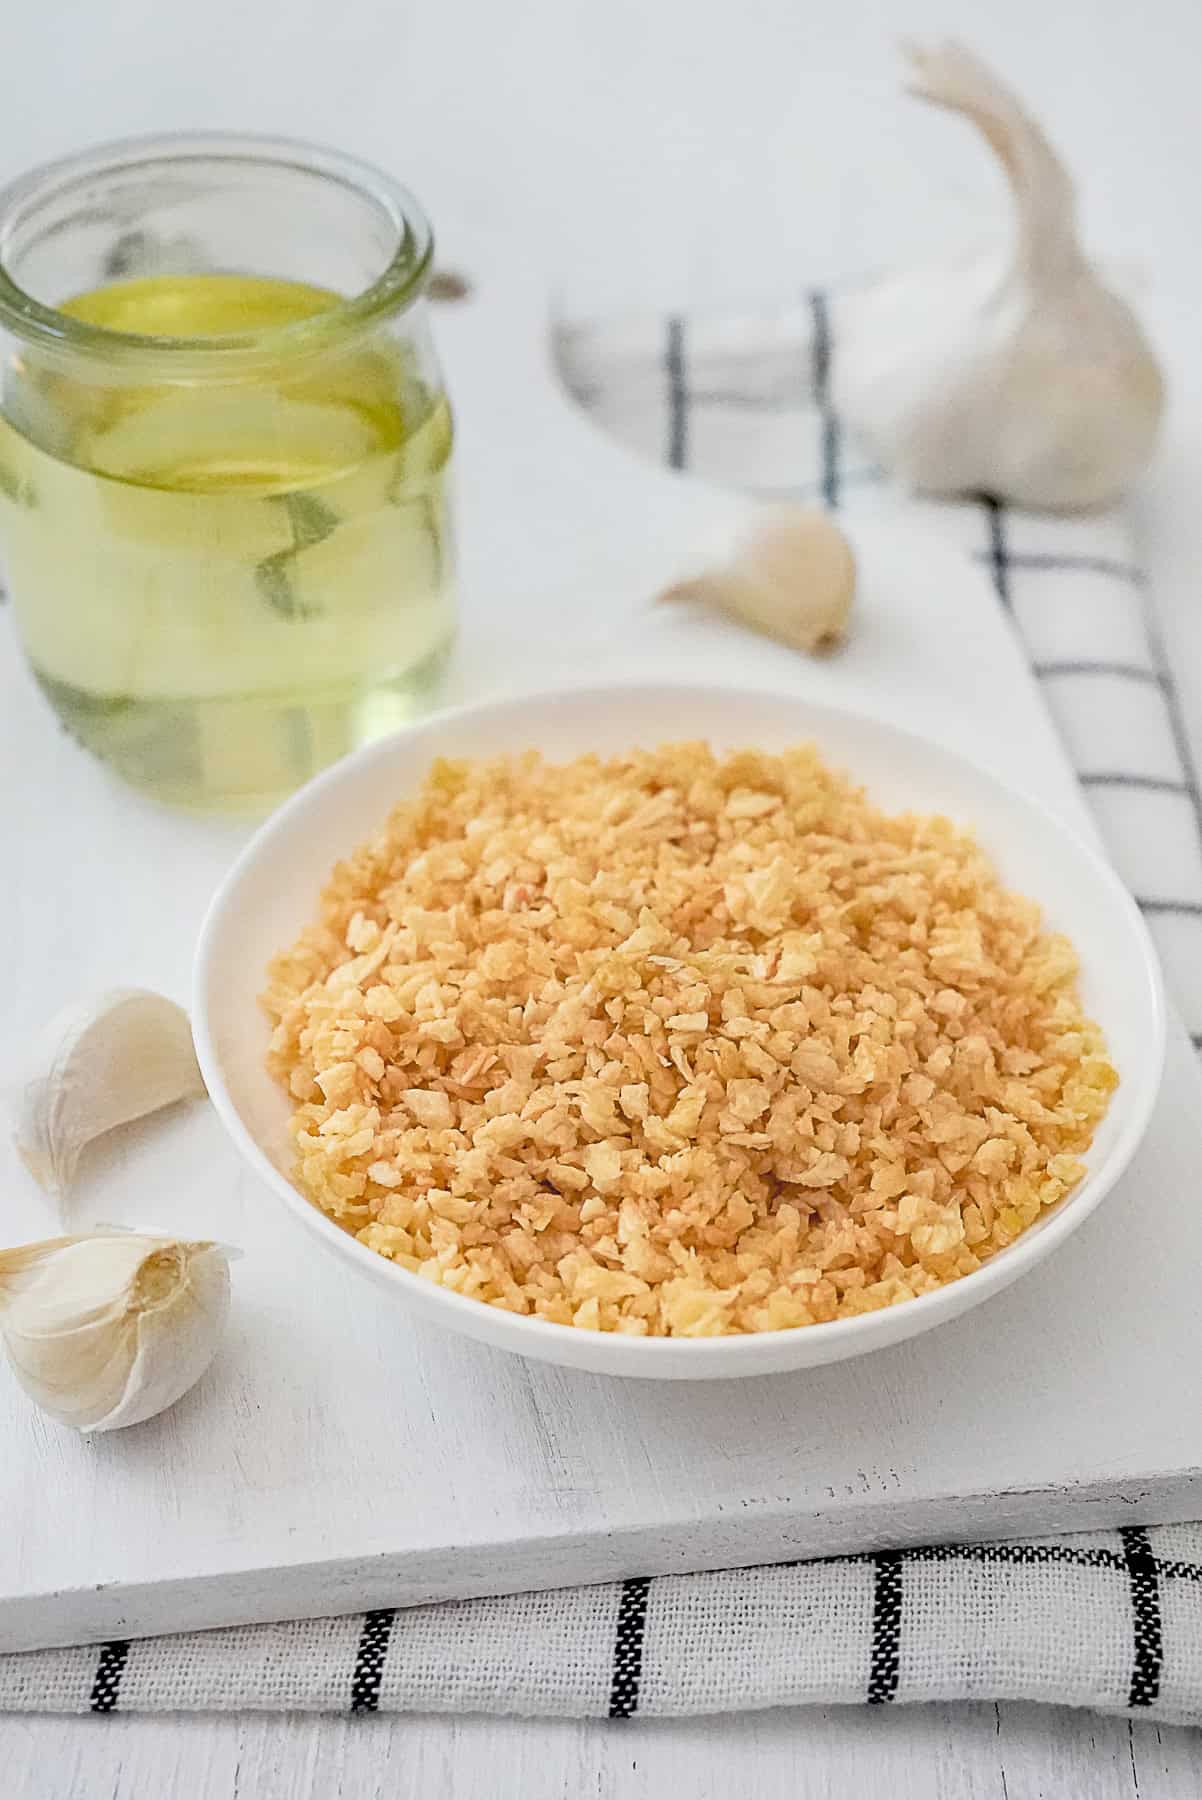
The fried garlic and the resulting garlic oil will last longer if you store them separately. Fried garlic will last for a week or more if stored in an airtight container at room temperature. The garlic oil can be refrigerated in an airtight container for up to a month. If you'd like to store the fried garlic IN the oil, the garlic will stay crisp for a couple days at room temperature.
Fried garlic adds so much aromatic flavor and crunchy texture to Thai dishes that I'd definitely consider it to be an essential Thai ingredient. And with the few key tips and techniques presented here, it's easier than ever to make this essential Thai ingredient at home. Within minutes, you can have this delightfully crisp garnish and a flavorful oil with which to boost the flavor of so many Thai dishes.
Recipe
Fried Garlic and Garlic Oil | Gratiem Jeow | กระเทียมเจียว
Equipment
Ingredients
- 1 head garlic
- 1 cup oil mild-flavored
Instructions
- Separate your head of garlic into individual cloves. Peel the cloves of garlic, then cut into uniformly-sized pieces using your preferred method (see above for description of methods: mortar and pestle, food processor, chop, slice).
- Add oil to a small pot and heat to medium heat. Once the oil is hot, add a test piece of garlic. If it bubbles up in the oil immediately, the oil is ready.
- Add the rest of the garlic to the oil. It should bubble a lot when initially added. Stir the garlic often, and watch it closely. As it becomes crispy, the oil will bubble less.
- Once the garlic starts to become a golden color and the oil bubbles less, scoop the fried garlic out of the oil. Err on the side of less color than more color, as the garlic will quickly go from golden to burnt.
- Let the fried garlic drain on a paper towel. Strain the remnants of the garlic out of the oil and save the garlic oil in an air-tight container.


Leave a Reply